If you want to take your portfolio website to the next level, then you can add animation to it. Most clients make judgments after seeing the design of your site. And the animation enhances the design experience of your website. However, we should not animate the web pages randomly and make them crazy with lots of unwanted animation that is against the user experience. So the animation should be minimal, professional, user-friendly & meaningful. If this is what you’re agreeing with then let’s get started. Before we deep dive, see the animated portfolio template that you’re going to build. See […]
Read More →
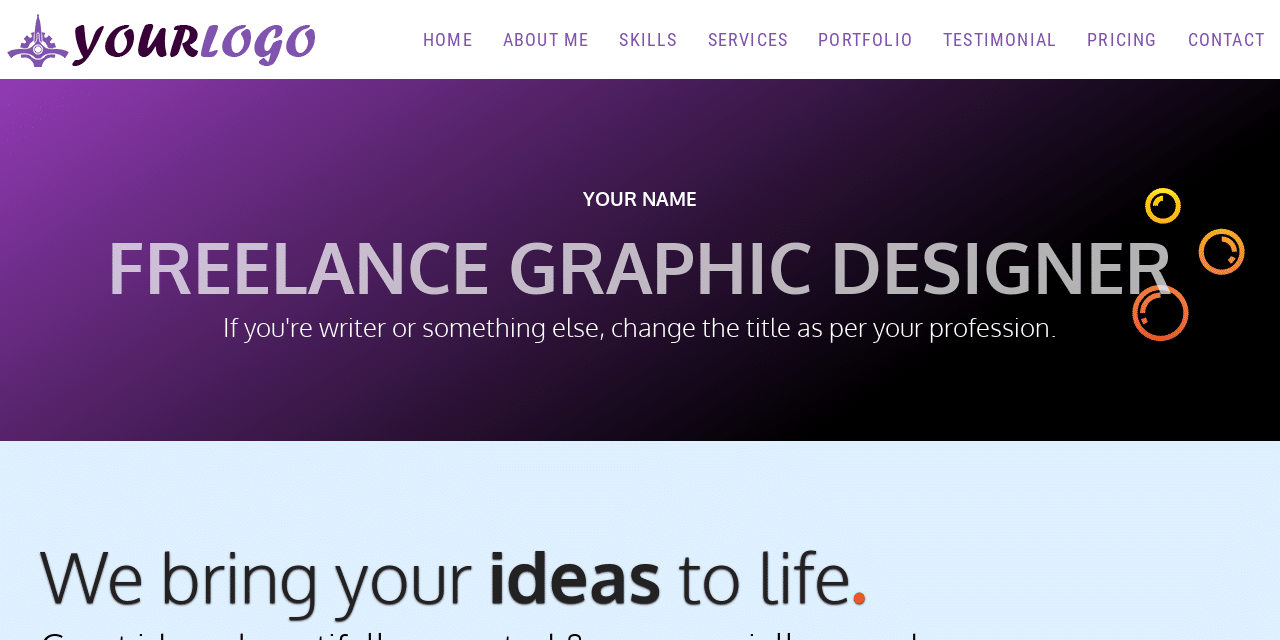
A portfolio is a great way to showcase your expertise and increase your chances of getting hired. I will show you a step-by-step guide on how to design a portfolio website using only HTML, CSS, and a few lines of simple JavaScript. End of this post, you will get the portfolio website source code, and you’re free to edit the template as you see fit.Before we start together, see the finished product (live demo) you will build. It’s completely mobile responsive, fast loading, and easy to customize the template. It shows a portfolio for a freelance graphic designer. But you can make changes […]
Read More →To use these header templates, you need a premium version of Elementor. After you download a header template, log in to your WordPress website, navigate to “Templates » Theme Builder » Header.” If you do not have an existing header then click “Add New” otherwise, edit the existing header. Either way, add a new template from the widget panel, go to the tab “My Templates” and upload the template that you have downloaded from here. And then insert the template to the header. That’s all! Therefore, if you still have any issues, feel free to reach out to me.
Read More →
You can create a “Back to Top” button on the Elementor website in a few different ways. But in this post, I will show you the easiest way that will not require any additional plugins. Also, I will give you the downloadable JSON files, so you can import them on your website and create the Back to Top button in 1 minute. Elementor itself also has a helpful post about creating a back-to-top button but it does not tell you how to do it in action. I found a few videos (Youtube) when I needed this help but most of […]
Read More →
Error establishing database connection may happen due to two different reasons. I will walk you through the process to fix the issue on a priority basis. 1. Error establishing database connection for corrupted database If you had a working website in the past and if you see the ‘Error establishing database connection’ very recently or if you see the error after activating a plugin, then your database has been corrupted. Now you have to repair the database. Don’t be afraid, it’s very easy. And it will not break anything on your site if anything goes wrong. Follow the steps with […]
Read More →Centering anything horizontally is easy but centering vertically is a little bit trickier. The display: block; margin: 0 auto; will center an HTML element horizontally. On the other hand, you can center anything vertically in a few different ways. In this post, I will show you two different ways to vertically center anything. And you can think of these two methods as the blueprints of centering elements. Centering vertically with Flexbox The HTML markup matters while centering with Flexbox. That means you have to organize or wrap your HTML elements in a specific way before you write the CSS. See the markup or structure below: HTML MARKUP You have to […]
Read More →Center a div both in vertical and horizontal directions using two different methods. In this post, I explained the CSS to centering a div using flexbox, positioning, and auto margin. Also, I mentioned one of the common fixes for CSS absolute position.
Read More →In this post, I explained the CSS margin, padding, border, and box model. Also, I tried to clear the common confusion and demonstrate how these three components work together. Let’s get started. The easiest-to-understand diagram (box model) margin border padding In this example, the image is the content that has a 90px margin, 30px border, and 60px padding. What is the difference between padding and margin? Padding and margin both create spaces surrounding the content. But what makes them different? The padding creates space inside the content. And margin creates space outside of the content. And border lives in between […]
Read More →In this post, I will show how you can center-align an image in various directions & using different methods (CSS). Any HTML element can be centered horizontally, vertically & both. Also, a horizontally centered image can be aligned at the top & bottom. In the same vein, a vertically centered image can be aligned at the left & right. If this doesn’t make sense, see the infographic below. Please take a look at all the live examples in the link below. Center align an image in all the possible directions If you take a closer look at the above infographic, […]
Read More →In this post, I will show you a couple of examples based on the background-size property. After reading it, you’ll learn how to make a full-width background image, how to make it responsive for all devices, full-screen background on any screen, custom size, etc. Before you start, you can also check the live demo of the finished examples that you’re going to build. You’ll get all the code samples and all the source code that powers the live preview template. Let’s get started. Examples of background image size Throughout the examples, I am only using plain text/paragraphs but you can […]
Read More →