If you have a Gmail account, then Analytics is just waiting for you to get started. You don’t even need to input your email, password, or anything else. Follow the steps below to set up your Analytics account & property.
STEP-1: LOGIN TO YOUR GMAIL AT FIRST.
Before you start, make sure you’re logged in to your Gmail at first.
STEP-2: GO TO ANALYTICS WEBSITE.
Visit the website at https://analytics.google.com/ and then it will take you to a provision page automatically.
STEP-3: SETUP THE ANALYTICS ACCOUNT
On the welcome page, click the button “Start Measuring” (previously the button was ‘Set up for free.’)

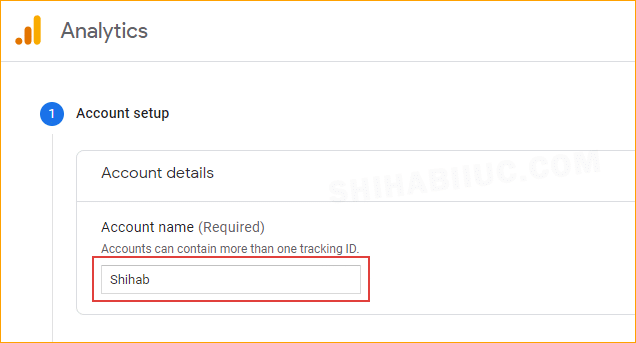
STEP-4: GIVE YOUR ACCOUNT A NAME
Give it a name and click next.
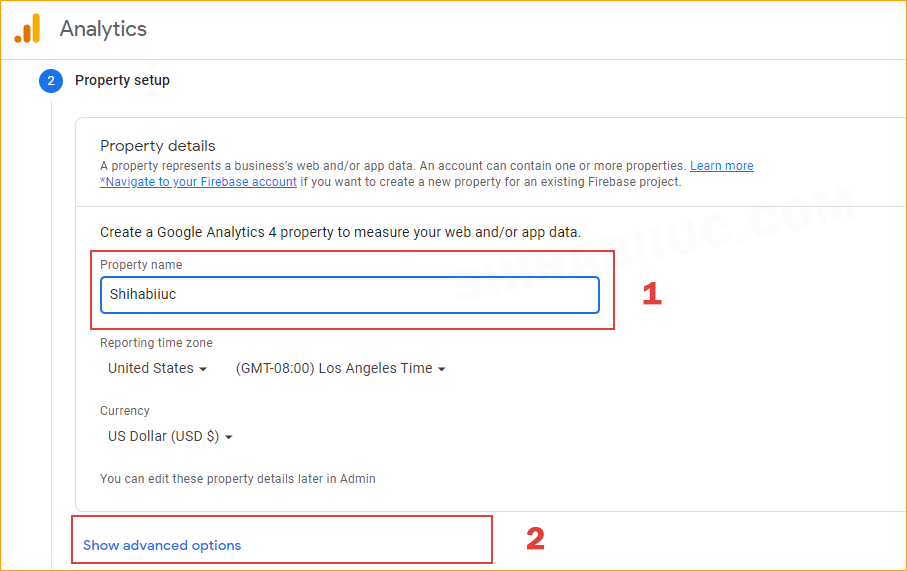
STEP-5: PROPERTY SETUP
A. Give your property a name and click on “Show advanced options.” See screenshot below:
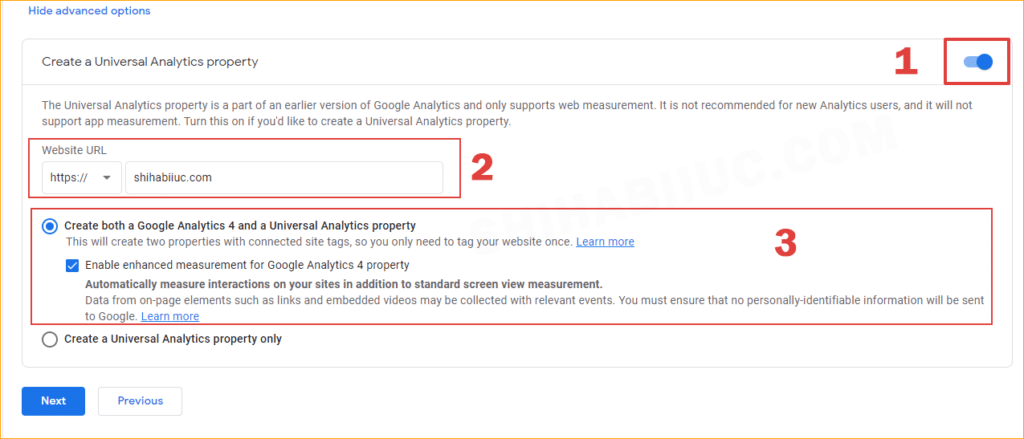
STEP-6: CREATE UNIVERSAL ANALYTICS PROPERTY
After you click the ‘Show advanced options‘ it will expand and show you a couple of other options. Do the following three things (see screenshot below as a reference):
1. Turn on the “Create a Universal Analytics property.”
2. Input your website URL.
3. Select the radio button called “Create both a Google Analytics 4 and a Universal Analytics property” and check “Enable enhanced measurement for Google Analytics 4 property” and click next.
By enabling this universal Analytics property, it will also create an old Analytics and you will be able to connect your website using plugins (for WordPress). As of today (March 2022), none of the WordPress plugins support Analytics 4, and even “Site Kit” that has been created by Google itself.
If you select the last option “Create a Universal Analytics property only”, it will only create the old analytics property. But in this step and the above screenshot, I am creating both new & old analytics.
So, follow this method (that you see in the above screenshot) to avoid any hassle in the future.
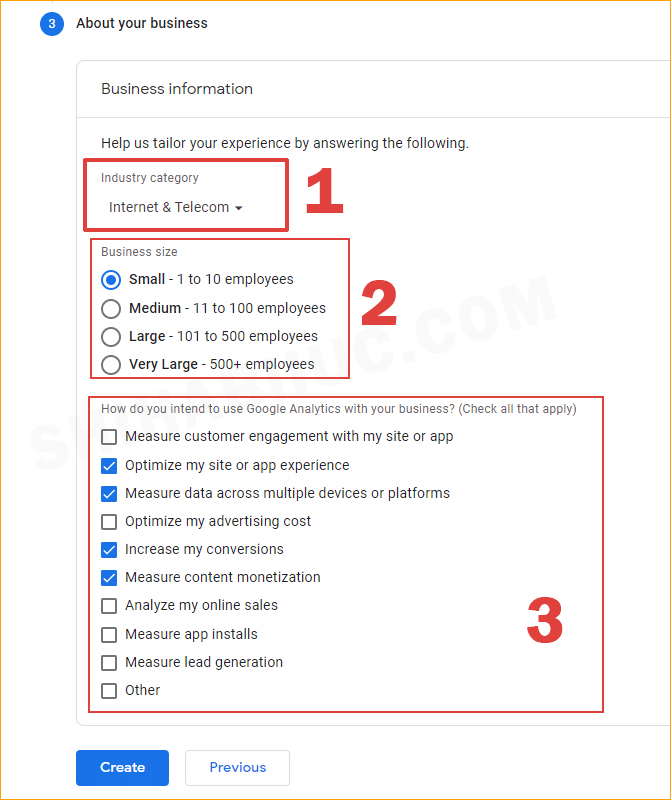
STEP-7: PROVIDE INFORMATION ABOUT YOUR BUSINESS
This is the last step. Select the Industry category, Business size, etc. And finally, click the “Create” button. See the screenshot below:
That’s all! Now you have a Google Analytics account and analytics property.
Related: Where is the Google Analytics tracking code?
Were you able to create the analytics property? I tried to make the process super simple as possible. But if you still have any questions, let me know.