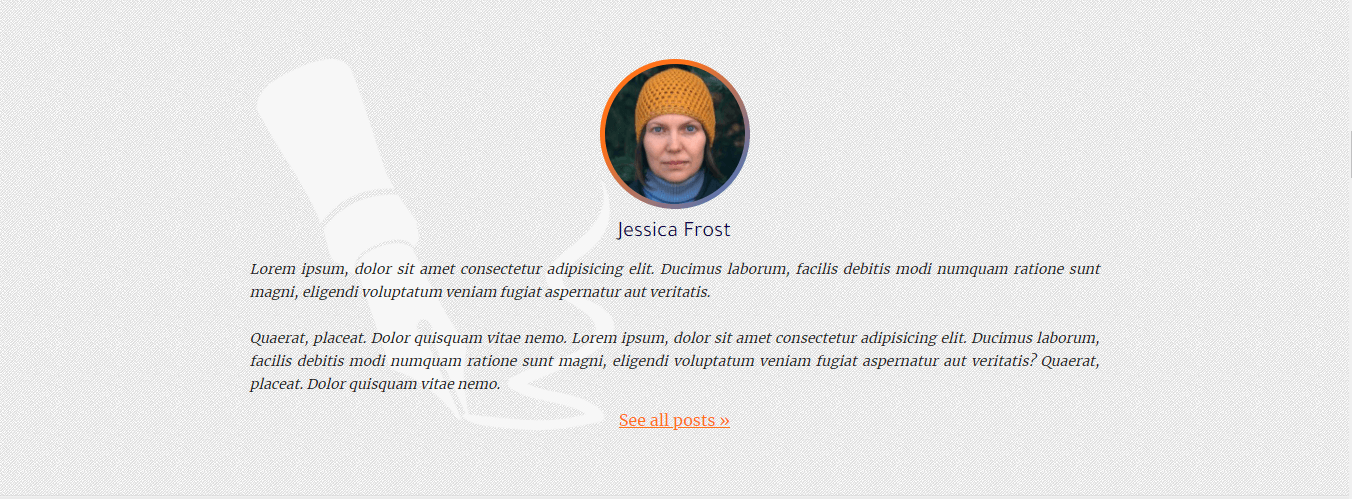
Do you want to display the author’s biography in every single post? In this post, I will show you how to display the author bio in every single post. The biography section will contain the photo of the author, his/her name, description, and profile link. See the top image as a reference.
Navigate to your WordPress theme, and open the ‘single.php’ and paste the following code where you want to display the post author’s biography. Don’t worry, I will explain the code later:
<section class="author-of-the-post">
    <div class="author-of-the-post--box">
        <div class="photo"><?php echo get_avatar( get_the_author_meta('user_email'), '150' ); ?></div>
        <h3 class="name"><?php the_author_meta('display_name'); ?></h3>
        <p class="description"><?php echo nl2br( get_the_author_meta('description') ); ?></p>
        <a class="profile-link" href="<?php echo get_author_posts_url(get_the_author_meta('ID')); ?>">See all posts »</a>
    </div>
</section>
Once you save the file, you’ll see the post author’s biography. As I said earlier, it will contain the author’s photo, name, description & link. To stylize it, I wrote some CSS for you. If you wish, feel free to use or customize it:
.author-of-the-post {
  padding: 60px 15px;
  background-color: #E9EBEC;
}

.author-of-the-post--box {
  max-width: 850px;
  margin: auto;
}

.author-of-the-post--box .photo {
  width: 150px;
  height: 150px;
  margin: 0 auto;
}

.author-of-the-post--box .photo img {
  background: -webkit-linear-gradient(left top, #ff711a 30%, #3575D3 100%);
  padding: 5px;
  border-radius: 50%;
}

.author-of-the-post--box .name {
  font-size: 22px;
  text-align: center;
  margin: 5px;
  font-weight: 400;
}

.author-of-the-post--box .description {
  font-size: 14px;
  font-style: italic;
  text-align: justify;
}

.author-of-the-post--box .profile-link {
  display: block;
  text-align: center;
  margin: 5px;
  text-decoration: underline;
  -webkit-transition: 0.5s ease-in;
  transition: 0.5s ease-in;
}

.author-of-the-post--box .profile-link:hover {
  color: #3575D3;
}
Once you save your CSS file, the author bio will look like the above (top) image. But there will be a missing background image. To keep things simple, I ignored the background texture & pen image from the CSS. Otherwise, it will look very close to the example.
The code explanation:
get_avatar is a WordPress function that retrieves the gravatar image. It also injects the <img> tag. So you don’t have to include it separately.
Now the question is- whose photo do you have to show? Since we are displaying the bio in the single post, so we need to display the current user/author’s photo who wrote the post. To accomplish this, I am using another function to get his/her email from the current post. ‘get_the_author_meta‘ is another function that will give you a lot of information based on your inquiry. Since I need the author’s email, so I wrote ‘user_email’ as the parameter. That means, the following code gives me the current author’s email:
<?php get_the_author_meta('user_email') ?>So the ‘get_avatar’ function will look like this:
<?php get_avatar( [email protected] ); ?>
<!-- 150 is the photo size -->
<!-- echo for outputting -->
Now you got the current user’s photo who wrote the post.
the_author_meta and get_the_author_meta are the similar functions. The first one directly outputs the result but the second one gets/finds the result but does not output it. It requires to ‘echo’ to output.
In the second step, I am displaying the author’s name by using the same function with a different parameter.
<?php the_author_meta('display_name'); ?>If you want to display only the first name, then use ‘first_name’ as the parameter (instead of ‘display_name’). There are other parameters you can check the documentation.
In the third line, the same function (with different parameter ‘description’) displays information about the author (Biographical Info).
<?php echo get_the_author_meta('description'); ?>
<!-- OR -->
<?php echo get_author_posts_url( get_the_author_meta('ID') ); ?>
‘nl2br’ for keeping the line break. It returns the <br> tag. See the reference on php.net.
‘get_author_posts_url‘ is the last function that I used in this post. It returns the author’s archive URL based on provided ID (user ID).
And I am getting the user’s ID from the following code:
<?php get_the_author_meta('ID') ?>After executing the above code, the ‘get_author_posts_url’ function will receive the author’s ID (user ID). And finally, the function will return the permalink of the author’s archive.