Calendly is a scheduling platform used by thousands of consultants, entrepreneurs, and anybody who allows booking a schedule with them. It has both free and premium versions, but the integration process with WordPress is the same.
In this post, I will show how to add a Calendly booking calendar to your WordPress website. In my examples, I insert Calendly with and without a plugin. Also, I will show how to add Calendly to Elementor, Divi, and general WordPress sites.
| Table of contents |
|---|
| 1. Add Calendly to WordPress without plugins |
| 2. Add Calendly using a WordPress plugin |
| 3. Insert Calendly using Elementor |
| 4. Insert Calendly using Divi |
How to add Calendly to a WordPress website without plugins?
1. Get the Calendly embed code
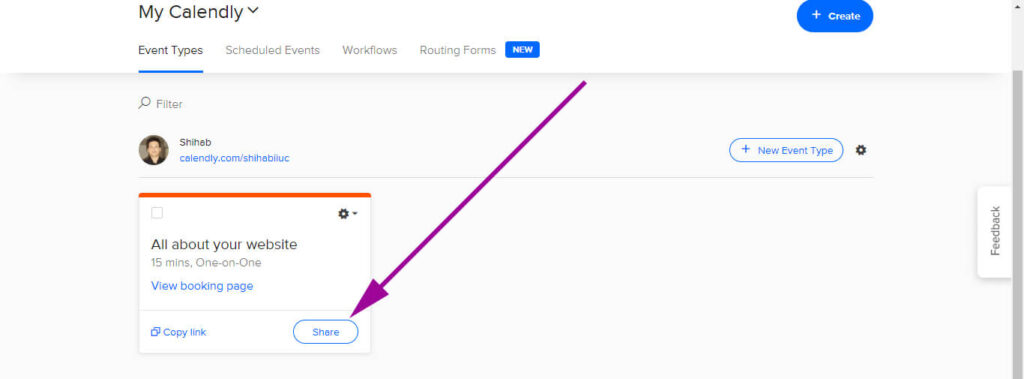
Login to your Calendly account and find the calendar that you want to insert on your WordPress website. Click the “Share” button.
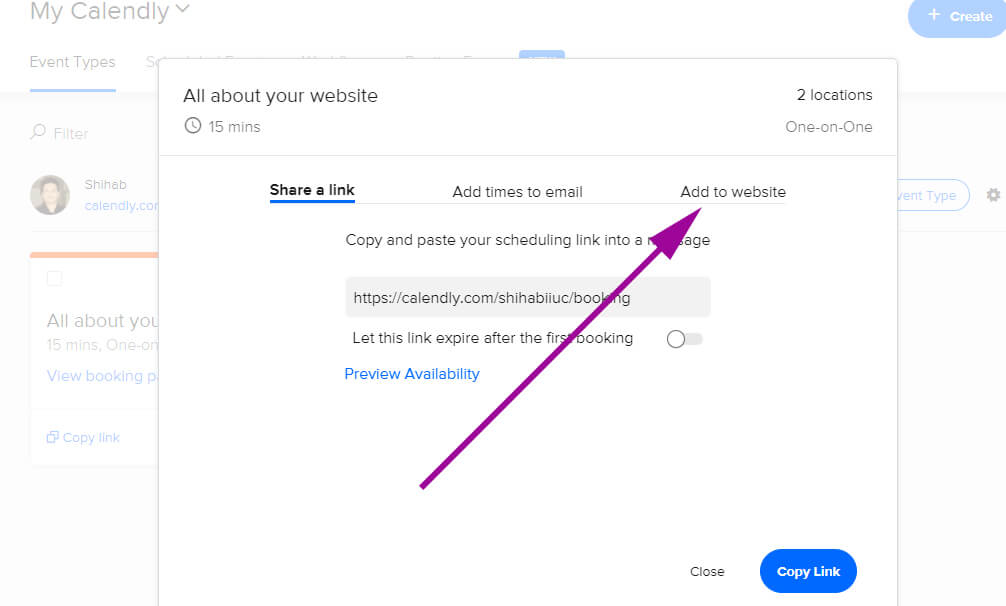
A new popup window will appear with three different sharing options. Click the last option called “Add to Website.”
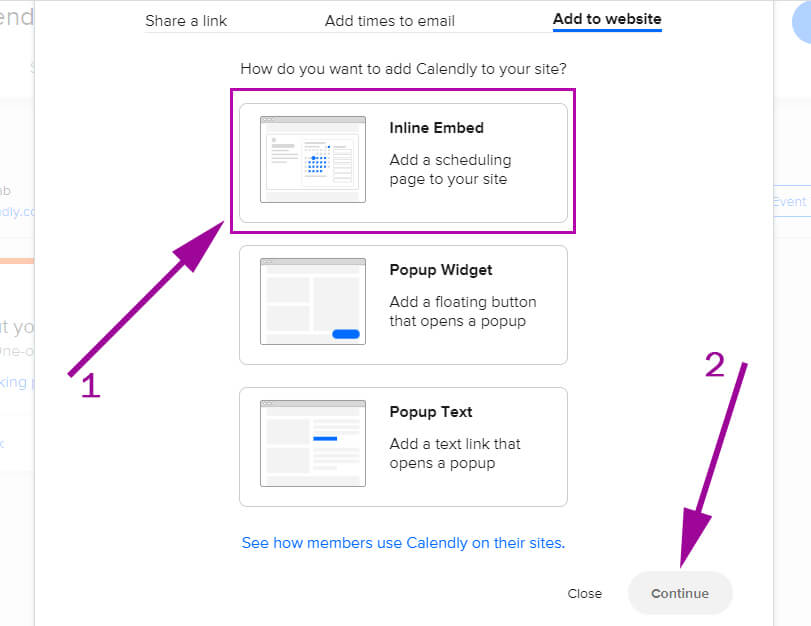
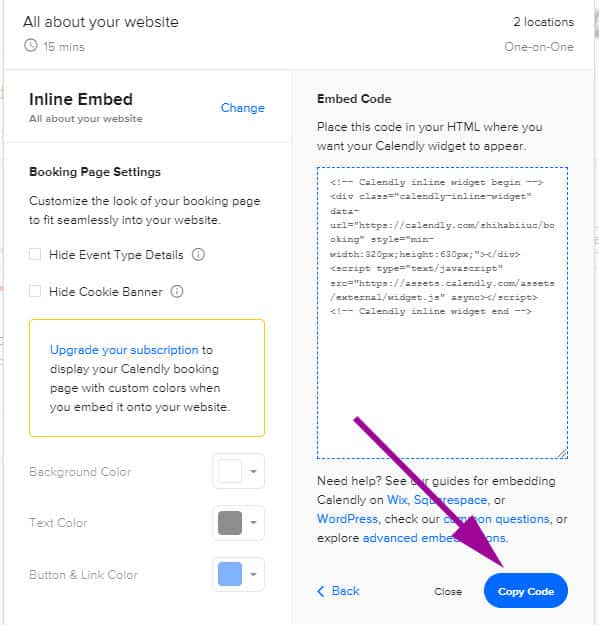
Next, select the first option, “Inline Embed” and click “Continue.”
It will give you the embed code to insert on your website. Copy this code.
You’re done with the Calendly website, and we will go to your WordPress website now.
2. Paste the Calendly embed code to your WordPress website
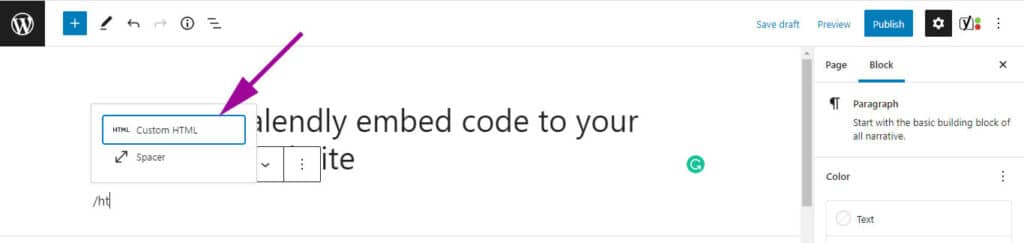
Login to your WordPress website and go to any of your pages or posts where you want to insert the Calendar. Take the “Custom HTML” block.
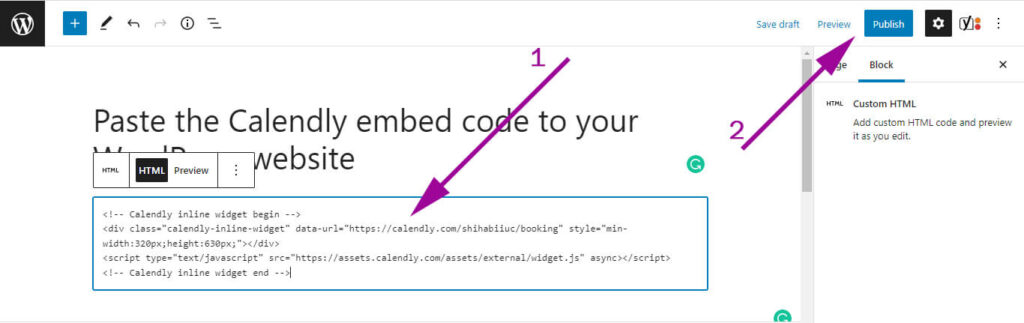
Paste your Calendly embed code into the ‘Custom HTML’ block and publish your post or page.
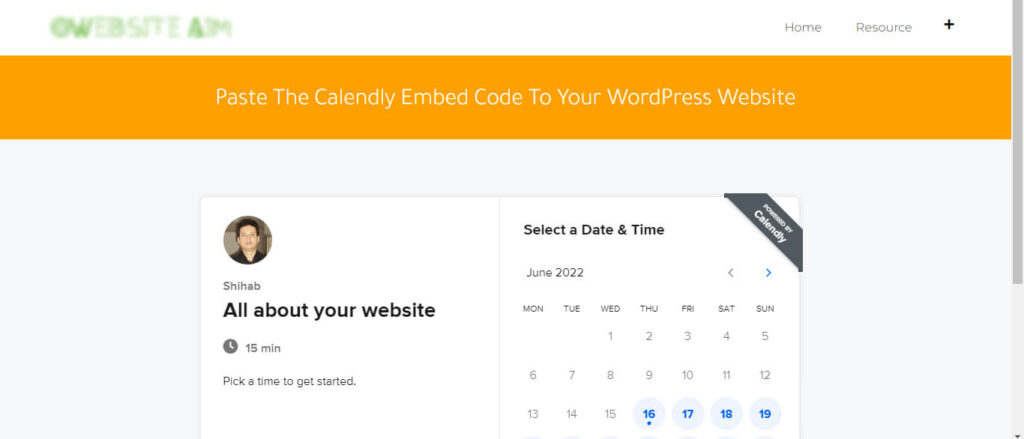
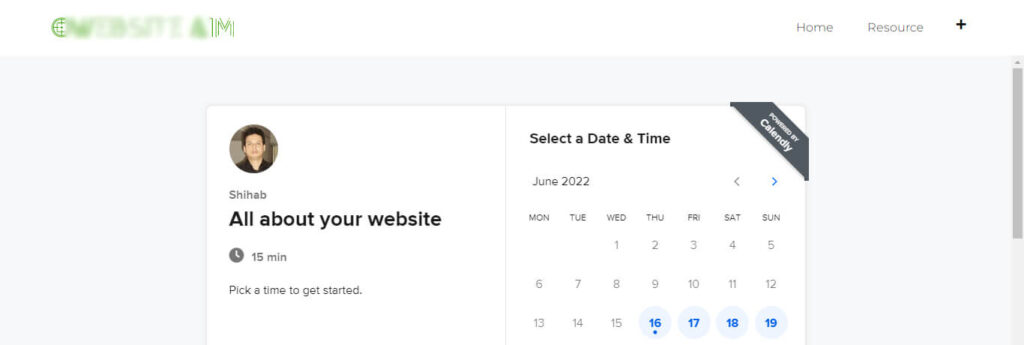
That’s it! Now the Calendly scheduling calendar is now live on your WordPress website and anyone can book a schedule through your website.
How to add Calendly to WordPress using a plugin?
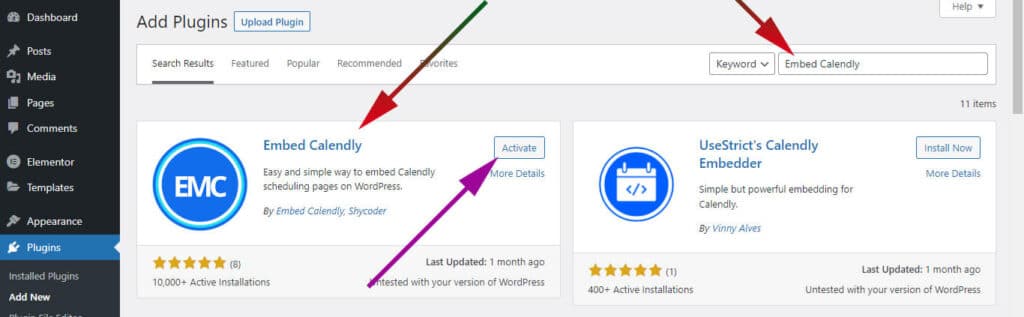
There are a few WordPress plugins that work with Calendly. To insert the Calendly scheduling calendar to your WordPress website with the help of a plugin, login to your WordPress dashboard and navigate to “Plugins → Add New,” install & activate “Embed Calendly.”
Now you will find a new option on your WordPress dashboard called “Embed Calendly.” Click on this “Embed Calendly” and then “Settings.” Here you can setup your Calendly connection.
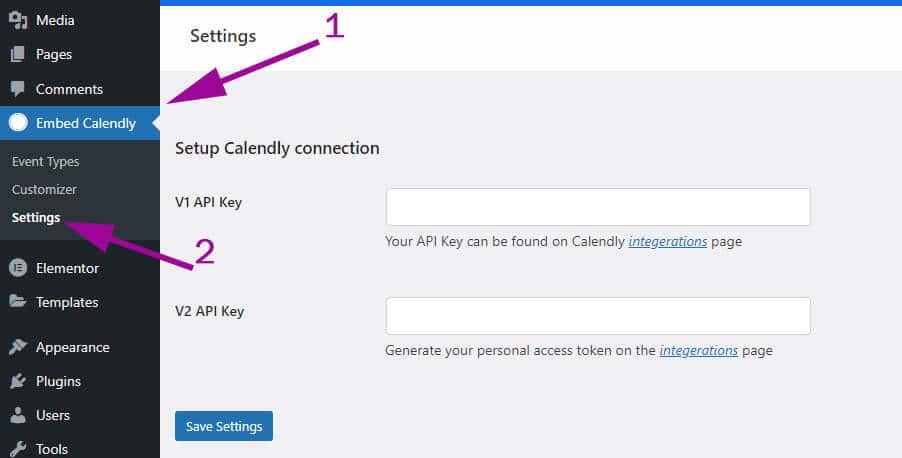
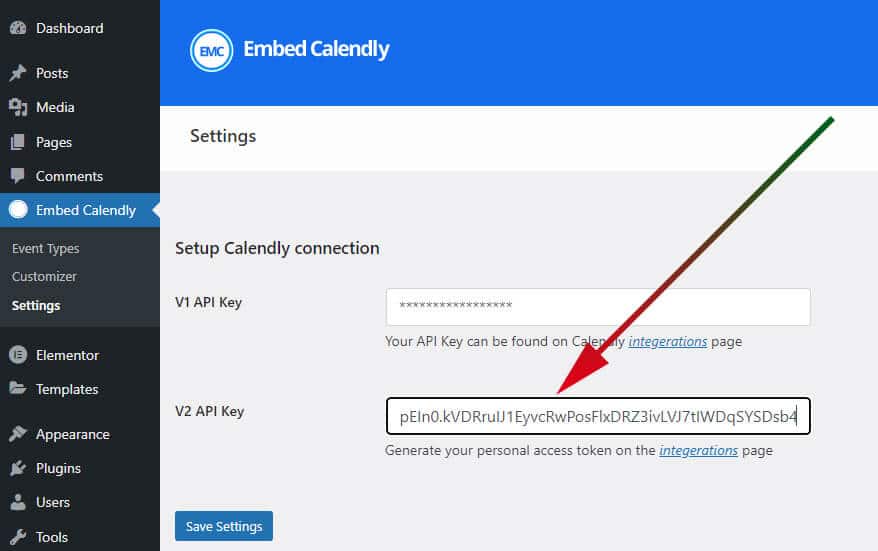
Here you need to connect your Calendly account using these two API keys: V1 API Key & V2 API Key. To get these two APIs quickly, click the links underneath each field (integrations).
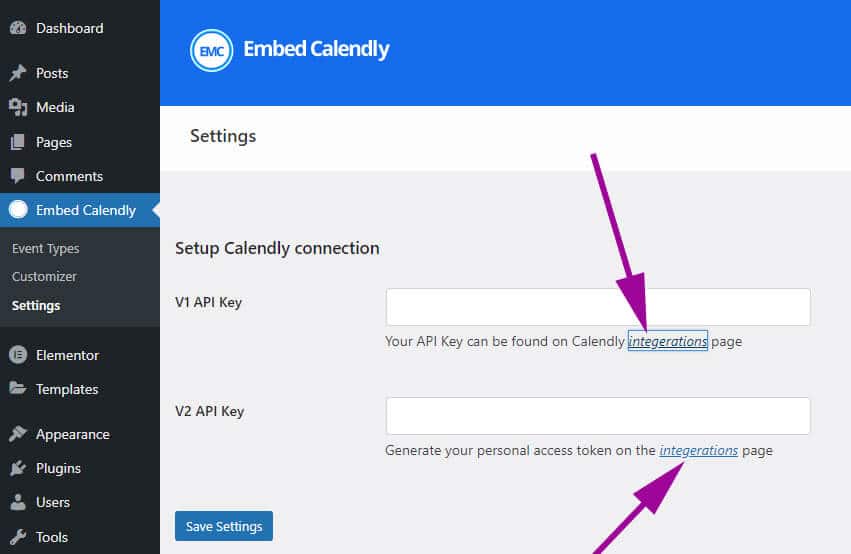
Make sure you’re also logged in to your Calendly account. After you click the ‘integrations‘ link, it will take you to the Calendly website.
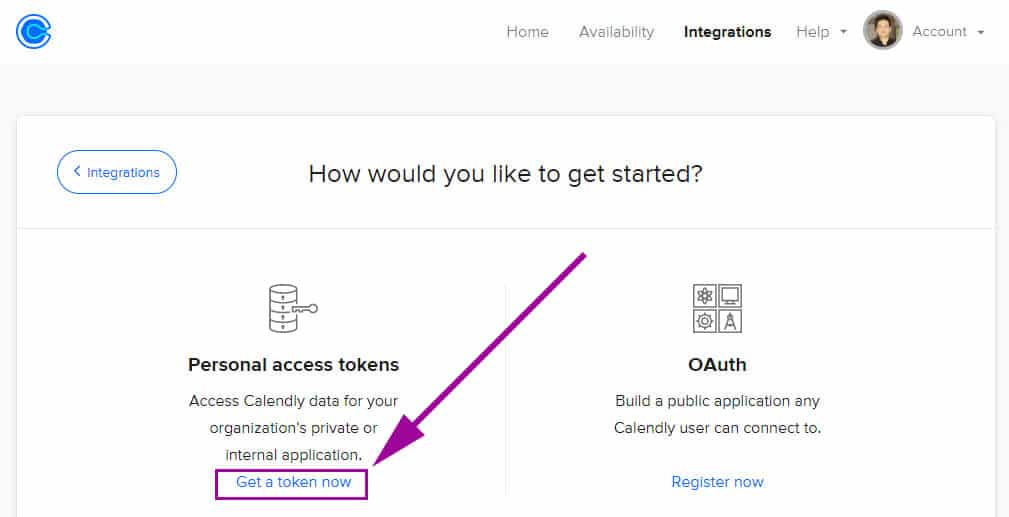
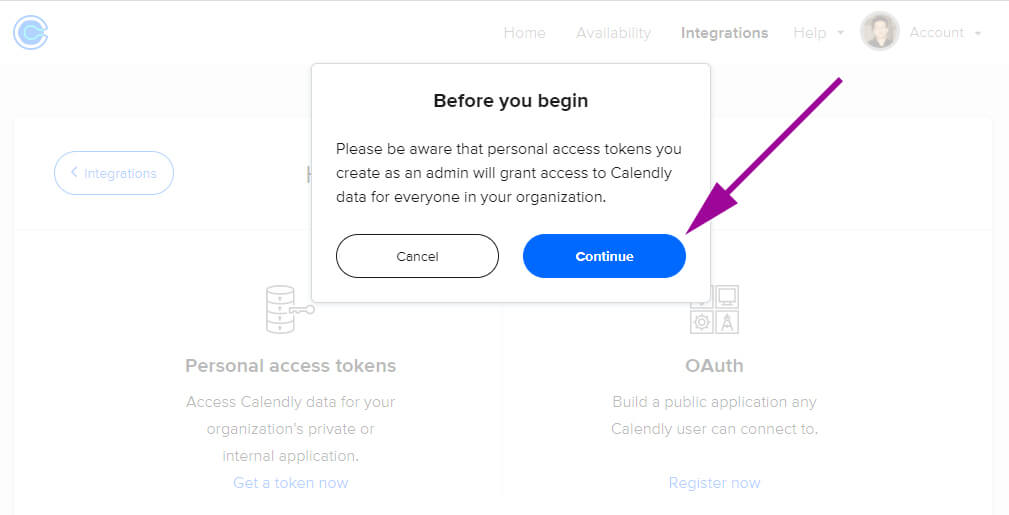
To get the ‘V1 API Key,’ choose the first option on Calendly “Personal access tokens” and click the link “Get a token now” (see screenshot below).
And click continue once the next popup window (see screenshot below).
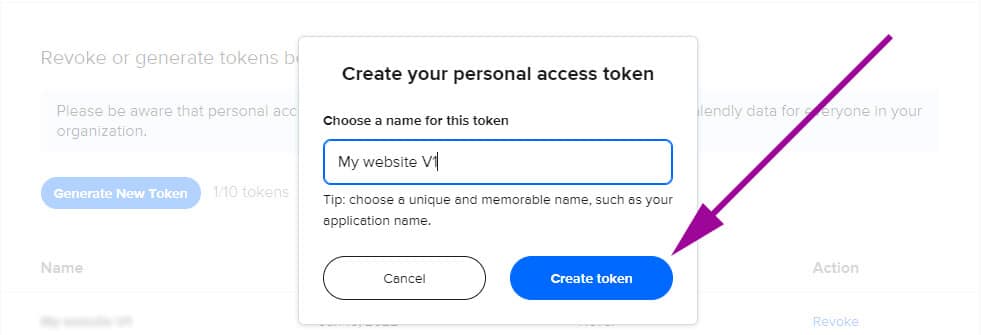
Give the token a name such as “My website V1” and click the button “Create token” (see screenshot below).
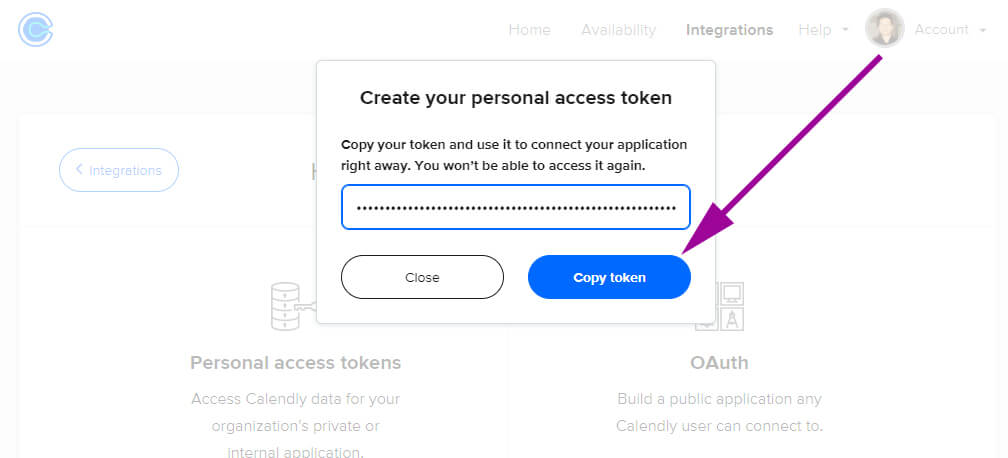
On the next screen, it will generate a token. Take a copy of the token by clicking the button “Copy token.”
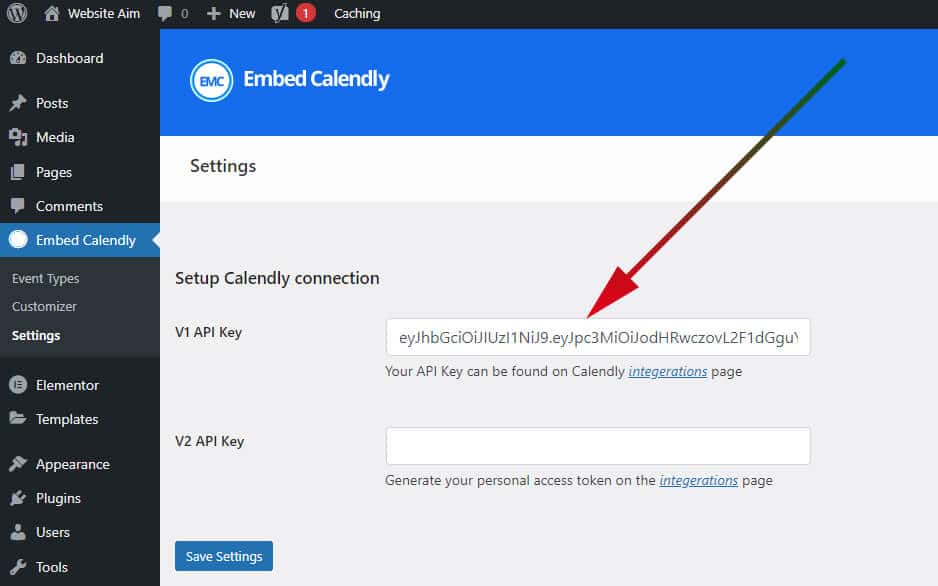
And paste the token (API key) to your WordPress dashboard where you came from. See the screenshot for more clarifications. It’s the key for the “V1 API Key.”
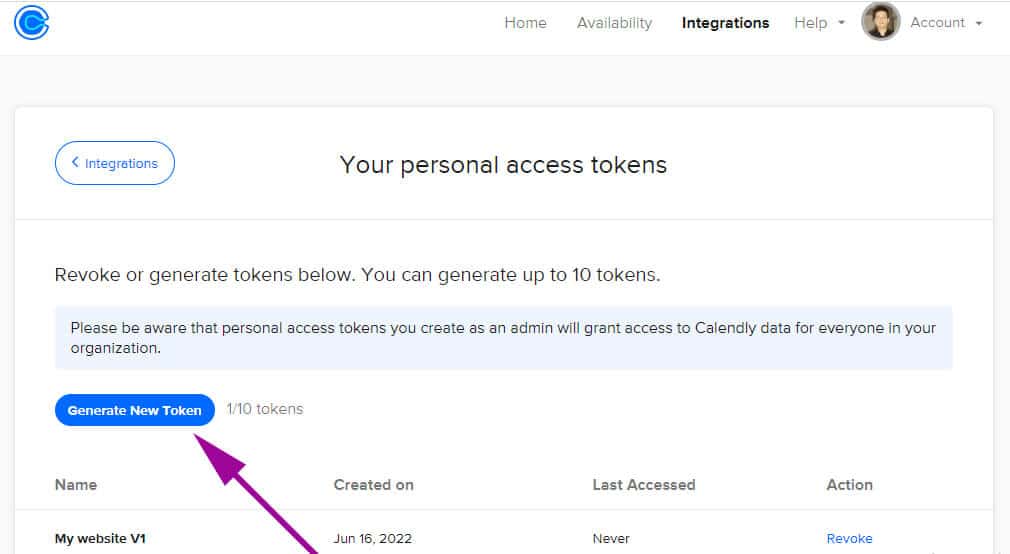
Save the settings and next, click the ‘integrations‘ link for the “V2 API Key.” It will again take you to the Calendly website. Click the link “Generate New Token.”
Again give it a name such as “My website v2,” click on “Generate token” and take a copy of the token just like the previous one. And paste the token to your WordPress website (for the “V2 API Key“).
And hit “Save Settings.”
It will connect your entire Calendly account with your WordPress website.
Now go to “Event Types” and you’ll find all Calendly events (booking calendars) here. Also, all these calendars (events) will have an individual shortcode.
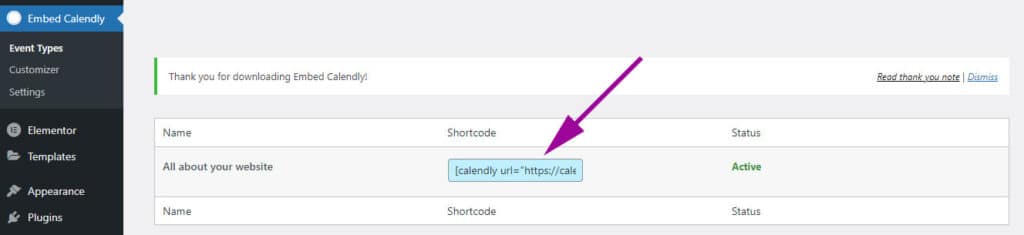
To insert an event or calendar on your WordPress page, copy the shortcode and paste it on the WordPress page or post.
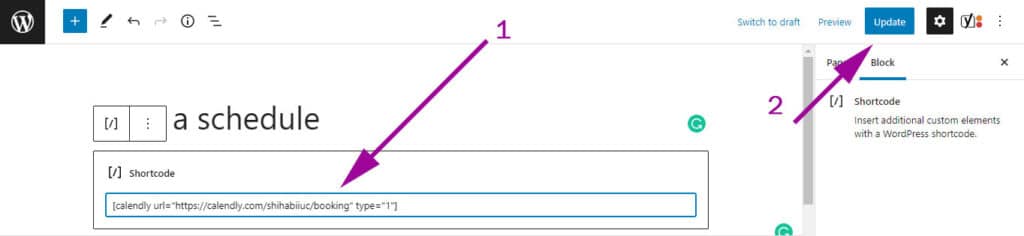
And don’t forget to update or publish the page or post.
That’s it for inserting a Calendly booking calendar into a WordPress post or page. Now if you got the to page or post, you will see that the Calendly booking calendar is in place.
How to add Calendly to the Elementor website?
Like any general WordPress website, you can add Calendly to the Elementor website using both plugins or without plugins.
1. Add Calendly to the Elementor website without an additional plugin
Go to any of your Elementor pages or post where you want to insert the calendar. Edit the page with Elementor. Drag & drop an “HTML Widget” on your Elementor page and paste the Calendly embed code.
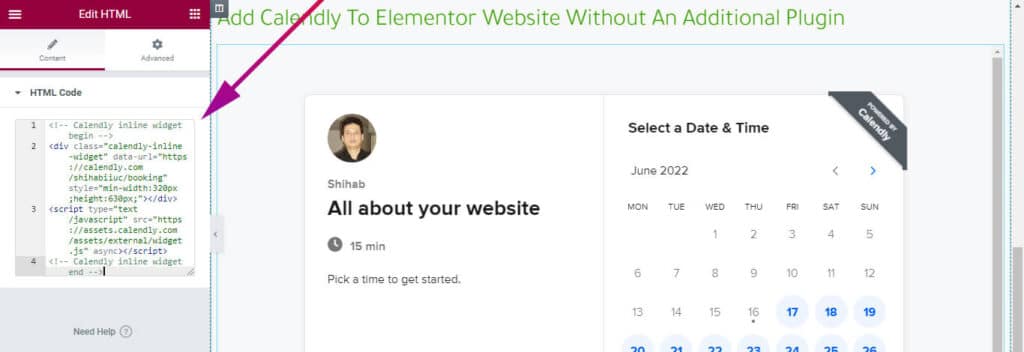
If you don’t know, see how to get the Calendly embed code above.
That’s it!
2. Add Calendly to the Elementor website using a plugin
There are various plugins you can use, such as Happy Addons, Embed Calendly, UseStrict’s Calendly Embedder, etc. If you already have activated any of the plugins, use it to add Calendly to your Elementor website.
But if you don’t have any of the three plugins, install & activate the “Embed Calendly” plugin and follow the steps above to learn how to connect your website with Calendly using ‘Embed Calendly.’
Once your site is connected with Calendly, copy & paste the calendar (event) shortcode to your Elementor page. That’s it!
How do you add Calendly using the Divi page builder?
Just like the above method, connect your website with Calendly and copy & paste the calendar (event) shortcode to your Divi page or post.
If you still have any questions, let me know.