You need a PHP-based development environment to install WordPress. Commercial hosting packages already have PHP, MySQL, Apache, and everything you need to install & build a WordPress website.
However, most computers don’t have a built-in development environment, especially Windows computers.
So you have to install & configure the development environment before you install WordPress on your computer.
How to install WordPress on your computer?
There are a few free and paid software you can choose from to create the development environment on your computer. Wamp Server, XAMPP, MAMP, and Local by Flywheel are a few of them. You can choose any one of them.
In this post, I will show you the XAMPP installation process quickly. But if you want to see the installation process for other software, please let me know.
Install XAMPP on your computer
Go ahead and download the software. It works on Windows, Linux & OS X.
The installation process is similar to any other software. Just follow its directions and click next & next.
There is no rocket science. Once the installation is completed, you will find a folder called “xampp“.
Double-click on it and look for another folder called “htdocs” inside the “xampp” folder. And the “htdocs” folder is your playground.
Install WordPress on your computer
You have successfully installed Xampp on your computer. Now, the first step is to open the “Xampp Control Panel.”
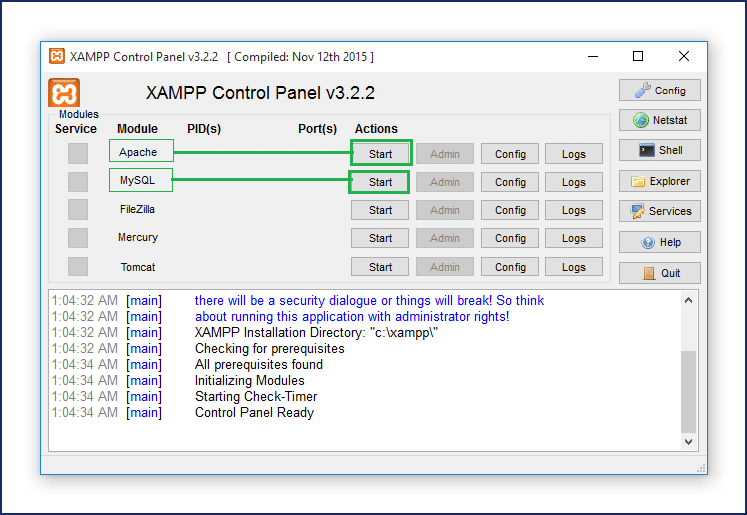
Find & open the application you installed just a moment ago. Click the first two ‘start‘ buttons under the “Actions” tab. This will start/run Apache & MySQL.
Please refer to the screenshot below for more clarifications.
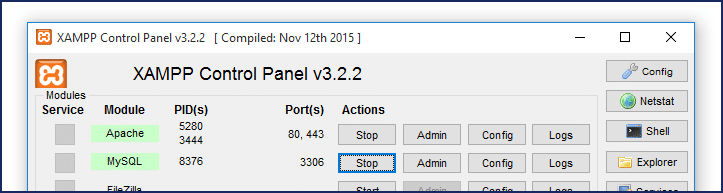
Make sure that you started both Apache & MySQL, and they show a green background like the screenshot below.
Now go to the “htdocs” folder and create a new folder to install WordPress. In this example- I will create a folder called “test” and install WordPress in this “test” folder. So the project URL will be “http://localhost/test“.
Download WordPress system files
Now, download WordPress into your project folder. You will get a Zip file, and you have to extract it.
Once you extract it, you will get all the system files within the “WordPress” folder.
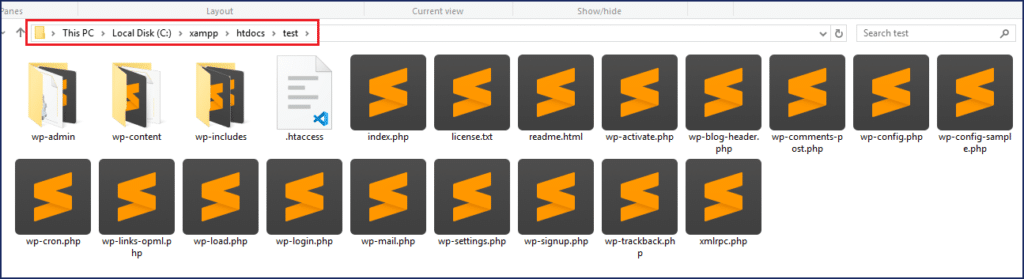
Select all the files & folders and move them to the “test” directory/folder. The “test” folder will look like the below screenshot.
One last step before we install WordPress.
Create database
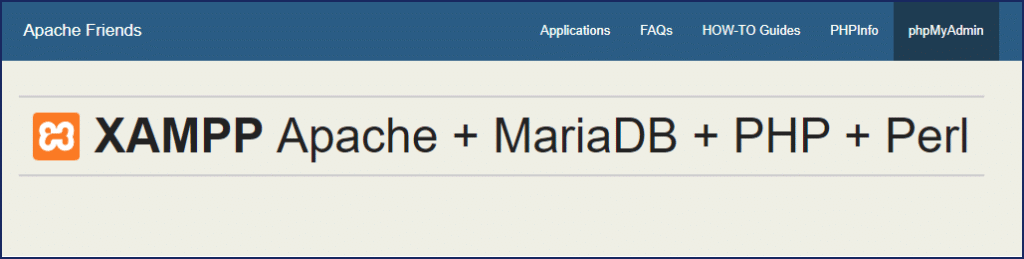
Go to localhost in your web browser or copy & paste the following link to your browser: http://localhost/dashboard/ and click on “phpMyAdmin”.
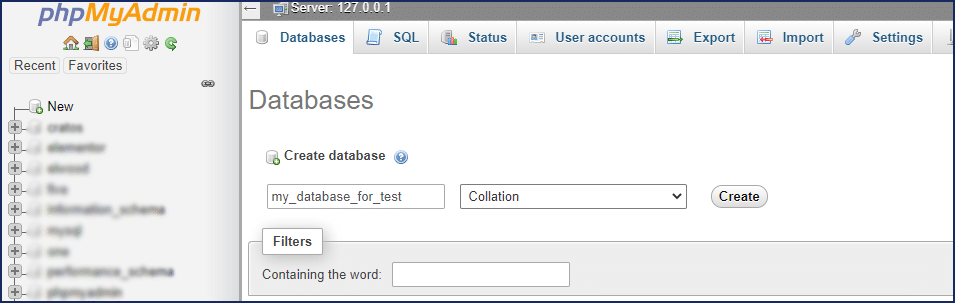
Click on Database to create a new one. You can name it whatever you like. In this example, I will name it- “my_database_for_test” and choose “collation” from the dropdown. Hit the button “Create”. See the below screenshot:
Start WordPress installation
Now, we are ready to install WordPress on localhost.
Go to your web browser and hit the link “http://localhost/test/,” and it will prompt you to go through a WP installation process.
In the first installation window, choose your preferred language and hit next.
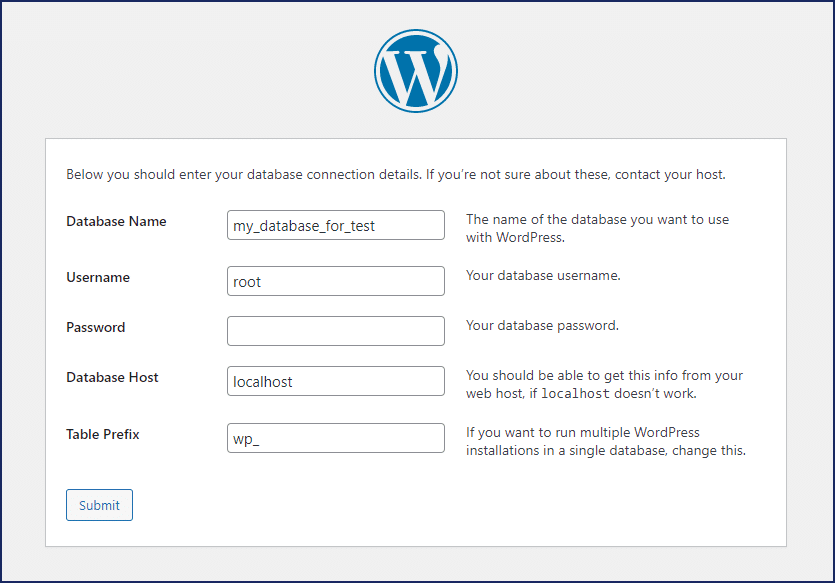
The second/final step will ask you for the database name, username, password, etc. It’s important to provide the correct database name.
In my case, the database name is “my_database_for_test.”
The database username is “root” (for everyone). And the password is blank/nothing (for everyone). Leave other options as they are. See the screenshot below.
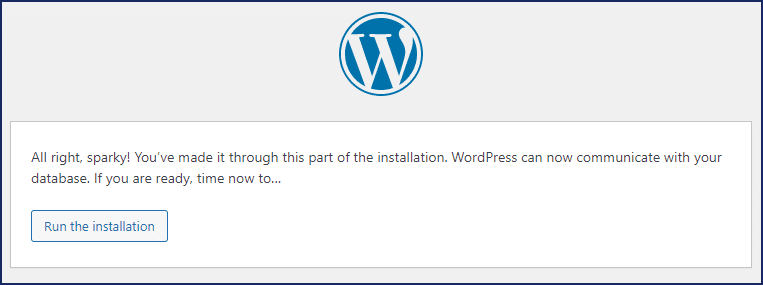
If your information is correct, you will see a greeting “All right, sparky!…” & just hit the button called “Run the installation”.
On the next window, choose your website title, username, password, email, etc. Don’t worry. You can change that information later (except for the username).
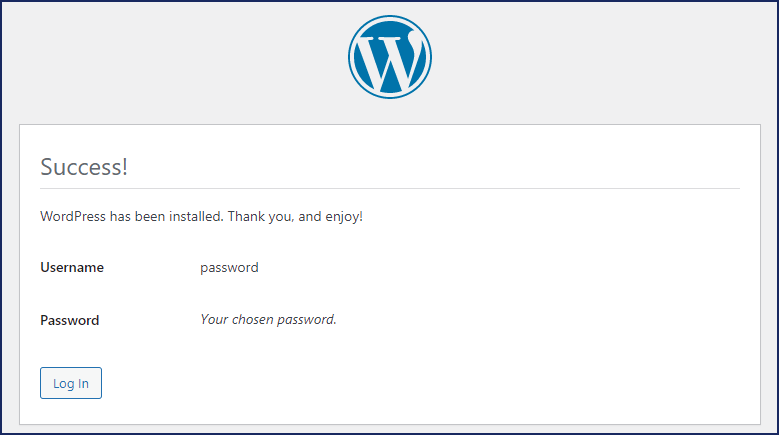
Don’t forget to note down the username & password because you need them to log in to your website.
Once you are done, hit the “Install WordPress” button. And Boom! You successfully installed WordPress on your localhost/computer.
That’s it for installing WordPress on your computer.
Now, you can log in to your website and customize it as you want.
Frequently asked questions
You learned how to install WordPress on your computer. Below, I answered some of the related topics that you may need to know.
What is the purpose of installing WordPress on localhost?
The main purpose of localhost is to work locally. Here, locally means on your computer. Using localhost, you don’t have to buy a domain and hosting until required. You can experiment with your file system within a very short time. You don’t need to log into your live hosting account to edit a file.
Another great advantage of localhost is Git. Localhost is a piece of cake, especially if you are a programmer and write code for your websites. You can build your website day by day, save your progress, and push your code to a Git Repository, e.g., GitHub, Bitbucket, etc.
Keep reading if you are wondering how to migrate your finished website to a live host or URL.
How to migrate a website from localhost to Live host (Live URL)?
There are a few different ways you can migrate your WordPress website from localhost to a live server. This post will show you the easiest way to transfer your website using the “All in One WP Migration” plugin.
Install & activate the plugin to your localhost. Go to the plugin menu and navigate to Export » File. It will generate a complete backup of your WordPress website and give you a downloadable file in “wpress” format. Download the backup file.
Now login to your live website, install & activate the same plugin. But this time, navigate to “Import” and upload your downloaded file. It will take some time, depending on the file size. Once it’s uploaded, follow the instructions and hit next/proceed/finish. You are done!
Remember that you cannot log in to your live website with your old login credentials. Use the login username & password as per your localhost website login credentials. But once logged in, go to “Permalinks” and hit save two times. It will generate/re-generate a new “HTACCESS” file.
Now you know how to install XAMPP and WordPress on your computer and migrate your finished website from localhost to a live server.
If you still have any questions, let me know.
2 comments on "How to Install WordPress on Localhost (XAMPP)?"
Hey Shihab,
Thank you for this blog on WordPress on localhost, its very well explained. I just wanted some more help. I tried doing this and it worked fine for this first two times but then Xampp started showing error of ports with both apache and MySQL. So I tried finding the solution online but none of them worked like changing configuration of apache and all(after changing configuration, WordPress doesn’t work. It shows URL not found). Then I reinstalled Xampp and tried again but after 2-3 times, it again started showing the same error. Can you please give me a solution to this or tell me what’s going wrong.
It will be really helpful.