
A subdomain is manually created as an additional part of your primary domain. For example, you can name it “support.your-domain.com” or anything you like.
Note that you can not create a subdomain through your domain registrar company. You need to create the subdomain on your hosting or cPanel.
To give you one more example of a subdomain, go to “blog.hubspot.com,” and you’ll see a different website. That means “blog.hubspot.com” is a subdomain of “hubspot.com.”
I hope it’s clear to you now. Let’s see how to create one.
How to create a subdomain
Step 1: Log in to your hosting and find the option called “Domains.”
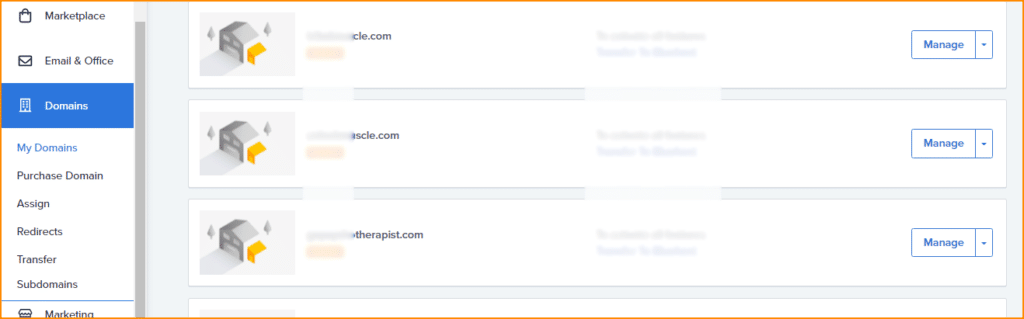
Depending on the UI & your hosting company, it may look slightly different, but the ultimate process is the same.
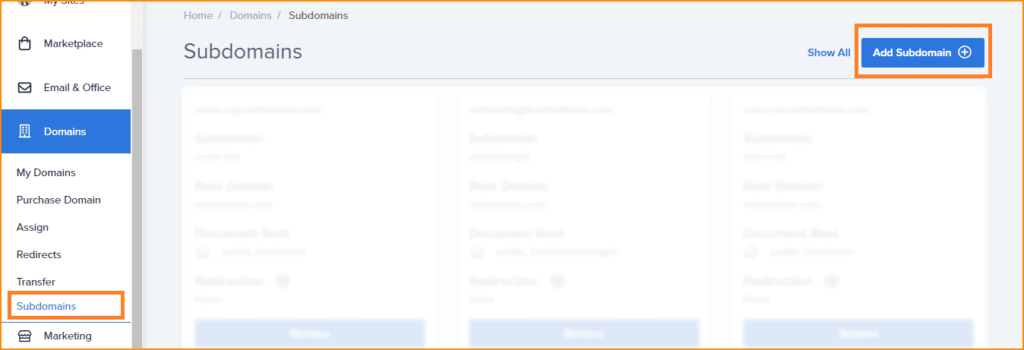
Step 2: Click the submenu “Subdomains” under “Domains,” and then click on “Add Subdomain.”
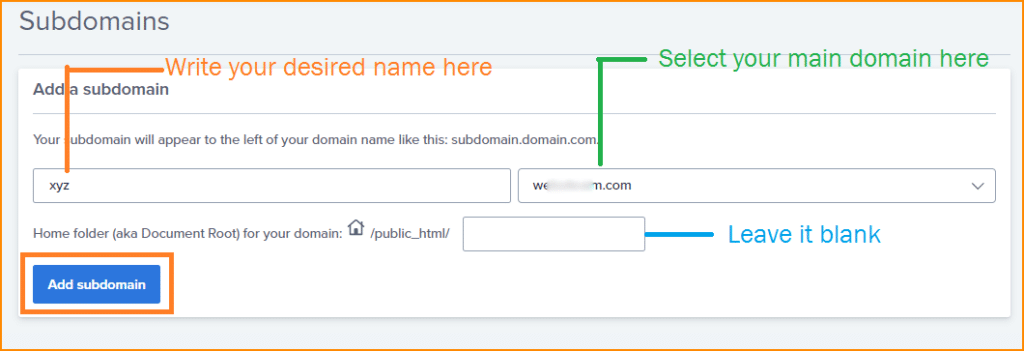
Step 3: You’ll find two fields here. The first field is to choose the name of your subdomain. Write the name and choose/select your main domain from the second field that the subdomain will belong to.
Leave the “Document Root” blank and click “Add subdomain.”
That’s it!
Once you create the subdomain, you’ll find an additional folder in your “public_html” folder. You can use the new folder to create a new website and install WordPress on it.
Creating a subdomain is always free; you can create as much as you need. If you want Google to crawl your subdomains, don’t forget to submit it. If you don’t know, see this post to submit your website to Search Console.
And if you want to keep track of your visitors, add the subdomain to your Google Analytics account.
Now you know what a subdomain is and how to create one. If you have any problem creating the subdomain, let me know.