
Before you connect your WordPress website to Google Analytics, make sure you already have created an Analytics property. If you don’t know how to do it, please refer to this post. In this post, I will show you two different ways: 1. Using a plugin (Site Kit) and 2. Without any plugin.
Method-A: Connect your WordPress website to Google analytics using Site Kit plugin
There are a couple of Analytics plugins in the WordPress repository. In this post, I chose the “Site Kit” as the best WordPress plugin (for this purpose). It’s just not only created by Google but also works very well and they don’t have any sales pitch.
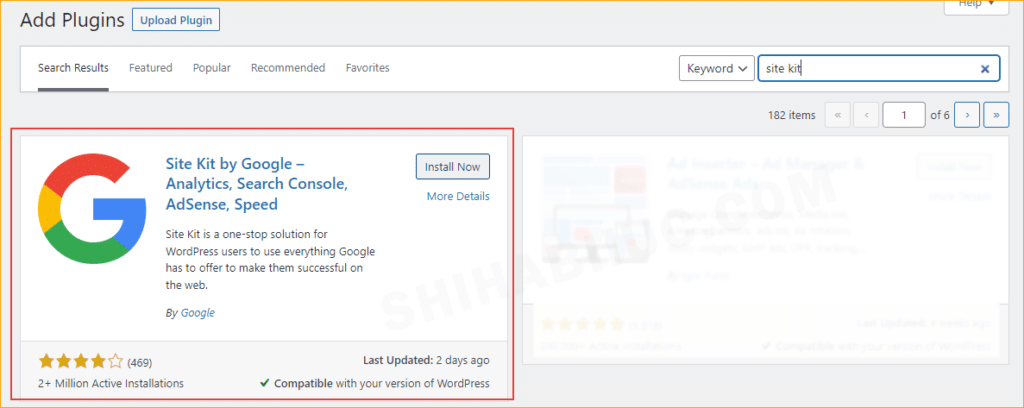
1. INSTALL & ACTIVATE SITE KIT PLUGIN
Login to your website and install & activate the plugin.
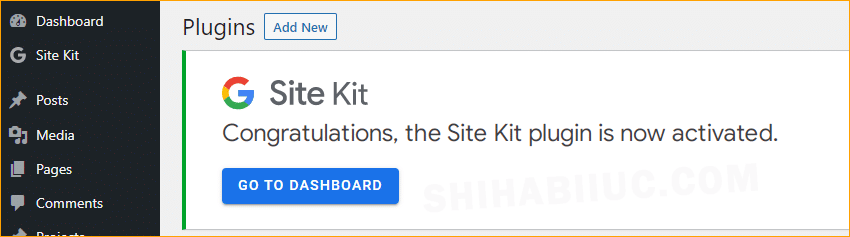
2. GO TO SITE KIT DASHBOARD
After you activate Site Kit, it will redirect you to the “Plugins” page and show you a “Welcome” screen. From the click on “Go to dashboard.” See screenshot below:
But if it does not take you to the welcome screen and if you don’t see the dashboard option like the above screenshot, then navigate to “Site Kit » Settings” and find the tab/option “CONNECT MORE SERVICES” and click on ‘Setup analytics.’
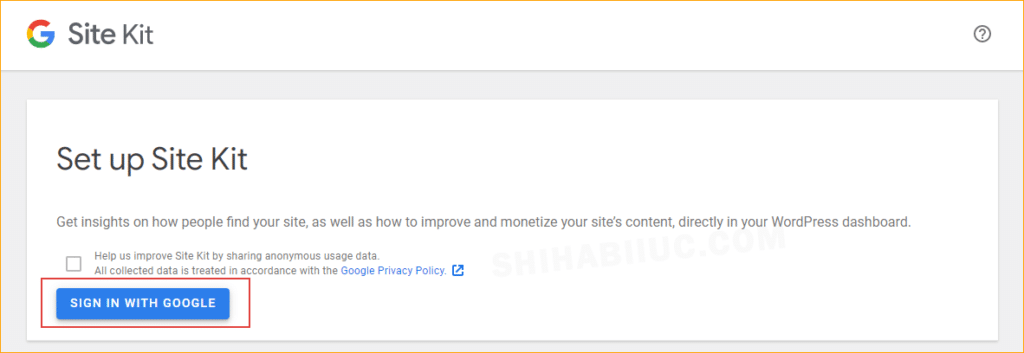
3. SET UP SITE KIT
Make sure you’re logged in to your Google account. And then click the button “Sign in with Google.” See the screenshot:
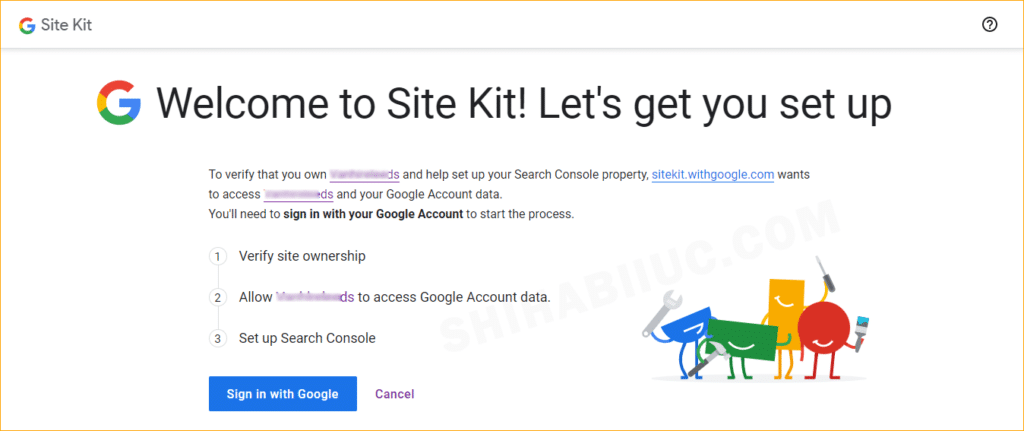
4. VERIFY SITE OWNERSHIP
After you signed in with Google, it will take you to a different page than your website. You have to verify the ownership of the Analytics property. Again click the button “Sign in with Google.” See screenshot below:
5. ALLOW AUTHENTICATION
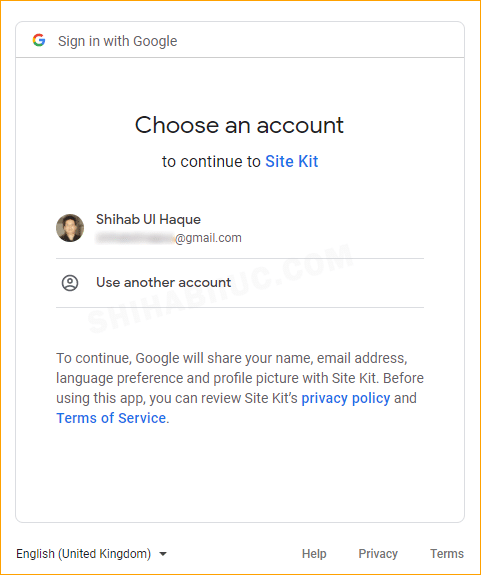
It will ask you to choose your Google account. Select the right Gmail/Google account and move forward.
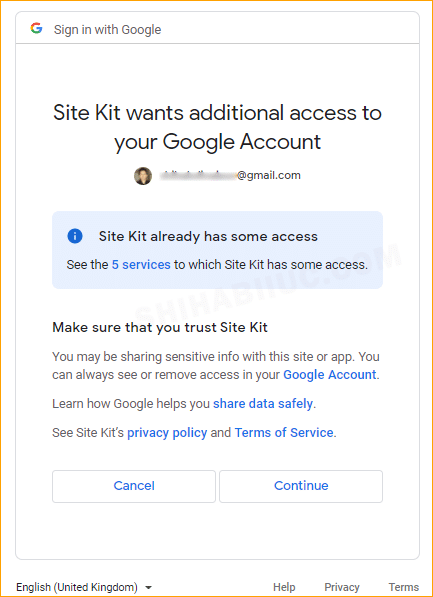
6. GIVE ACCESS TO SITE KIT TO YOUR GOOGLE ACCOUNT
Site Kit needs access to 5 services. Just give it access without any hesitation and click “Continue.”
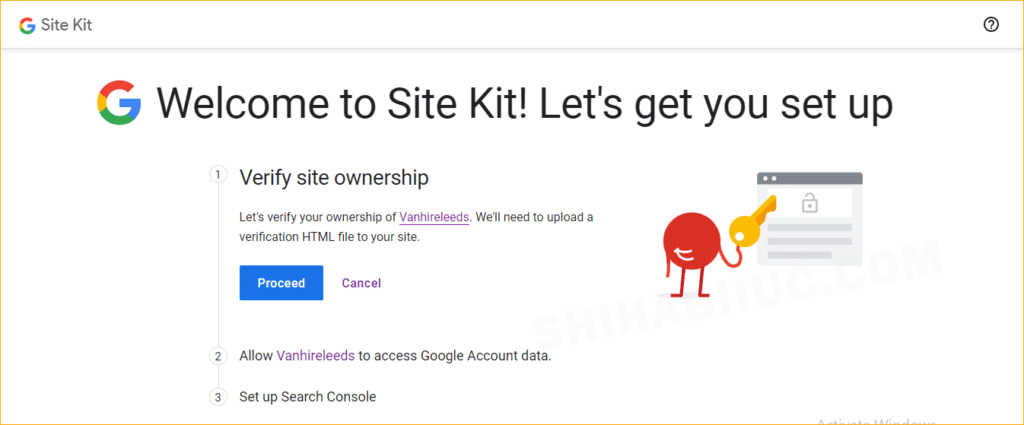
7. VERIFY WEBSITE OWENRSHIP
In this step, Site Kit will ask you to verify ownership of your website. Click the button “Proceed.”
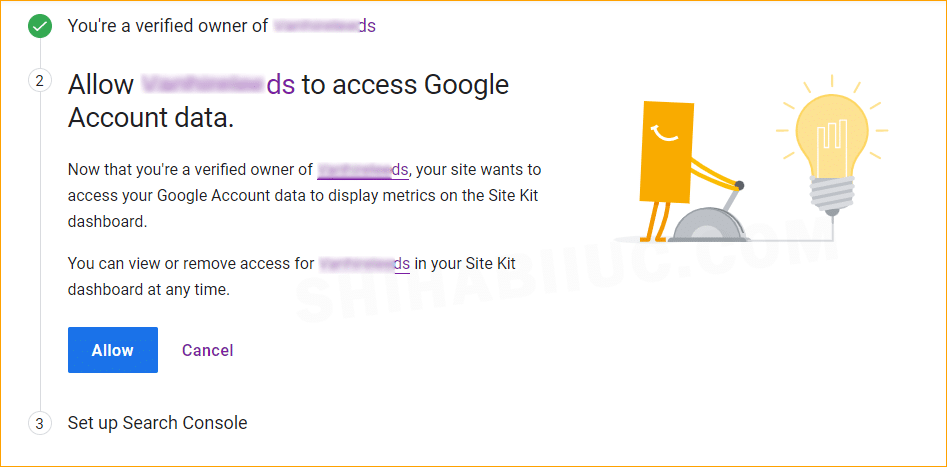
If it can verify the ownership, you’ll be a verified owner. But if it causes any issue, see how to verify ownership of your website. Anyways, once ownership is verified, click the button “Allow” in the 2nd option (see screenshot below):
And then add your site to the Google Search Console to finalize the process. Click the button “Add Site.”
That’s it! After adding your site to the Search Console (finalizing the process), Click on the button “Go to my Dashboard” and it will take you to your website (dashboard).

Method-B: Connect Google analytics using tracking code
It’s an alternative to the analytics plugin. You can also add Google Analytics to your website using Tracking Code.
If want to follow this method, find the property you want to keep track of. Click on “Tracking Info” and then “Tracking Code” as mentioned below screenshot. For more detailed instructions, see how to find the tracking code.
Anyways, once you find the tracking code, copy and paste it within the <head> tag.
To do that, open your theme folder, find the “header.php” file and in this file, you will find the <head> tag.
This method also works for Non-WordPress sites as well.
Note that, if you’re using a 3rd party theme (no matter free or premium), do not paste the tracking code into the parent theme. Because it will be overwritten by the next theme update. You can either use a plugin to insert the tracking code into the head, or you can place the code into a child-theme.
That’s all you need to know about how to add Google Analytics to WordPress sites.
Google Analytics helps you to track your visitors and their information such as demographics, behavior, etc. You can also check the Real-Time traffic report. It shows you the total number of visitors currently visiting your website, which specific URL they are visiting, and a lot more information about them.