In this post, I will show you how to add a favicon to a static HTML & WordPress website. It’s generally known as a tab icon, site identity, etc.
However, this is the icon that you see on the left side of the browser tab (as you see in the screenshot below).
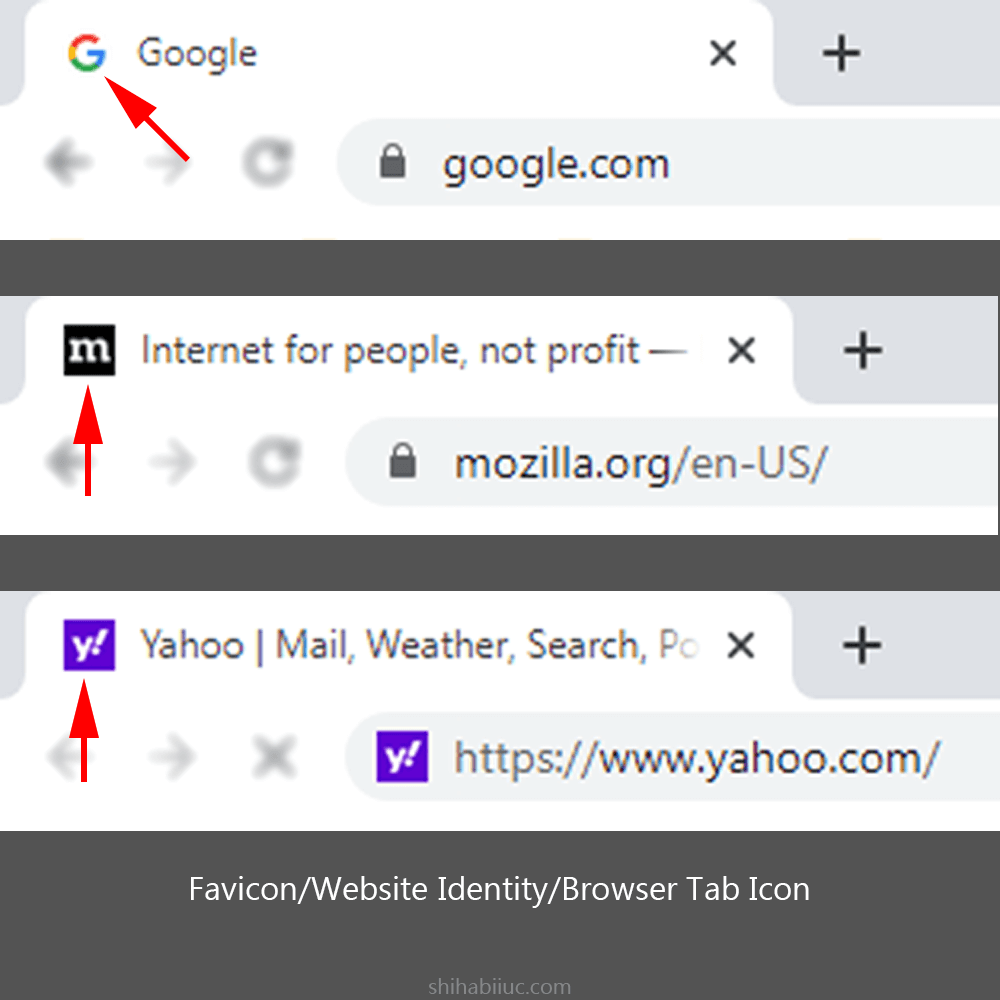
A favicon helps your website to quickly identify among many others. It’s also shown in the search results and has many other benefits.
Let’s see how you can create a favicon or tab icon for your website.
Add a favicon or tab icon to your website
Before you add the favicon to your website, keep the following things in mind:
- Directory: Your first step is to upload the favicon in the root directory. You can also upload it to a different sub-folder but it’s best practice to store the icon in the root or main project folder.
- File extension: This favicon is an image file and it can have PNG, JPG, or ICO format. However, I prefer to use PNG files.
- Size: Whatever file extension you choose, make sure it’s square in size. Also, it can be 16/16, 32/32, or 64/64 pixels in width & height. I prefer to use 32/32 pixels.
- Naming: Lastly, make sure the file is named “favicon.” You can name it something else but this is the recommended name. And the full name could be favicon.png, favicon.jpg, or favicon.ico.
After you upload the image file (favicon) to the root directory, write the following line anywhere in between the <head> tag.
<link rel="shortcut icon" href="favicon.png" type="image/x-icon">If you uploaded another file type rather than PNG, be sure to update the href attribute above. And you have to write the above link/line to all your HTML documents such as index.html, about.html, contact.html, etc.
That’s it! After you save your HTML file, you’ll see the favicon in the browser tab.
How to upload a favicon to a WordPress website
WordPress made it easy to add a favicon. You don’t even need to write a single line of code.
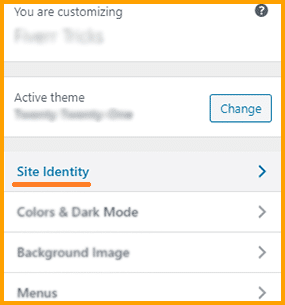
To upload a favicon to WordPress, navigate to “Appearance → Customize” and then “Site Identity.” Now you will see an option called “Site Icon.” This is the option where you can upload the favicon on your WordPress site. See the following two screenshots as a reference.
That’s it!
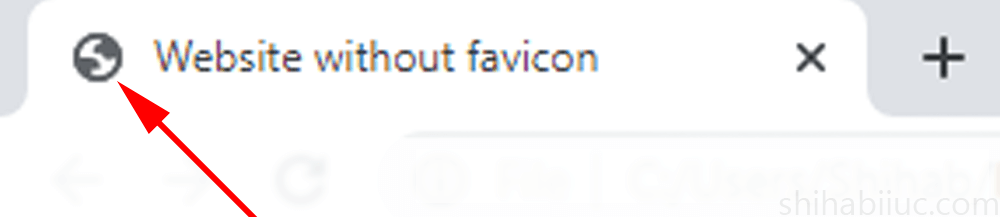
If you do not add a favicon to your website, web browsers will add a globe icon by default that does not look professional, nor even good.
How to generate or design a favicon easily
I will show you different ways to generate a favicon. Apply whatever option best works for you.
Gauger
It’s a Font Awesome favicon generator and you can create a favicon from any Font Awesome icon. Just choose an icon, change the background color, and icon color, download, and use it. Pretty straightforward.
It’s a free online tool.
Website address: https://gauger.io/fonticon/
Canva
Not everyone will use Font Awesome icons. If this is you, you can use Canva. Canva allows you to create your own favicon & other graphic assets.

It has both FREE & PRO versions. You can definitely use its free version to create a favicon.
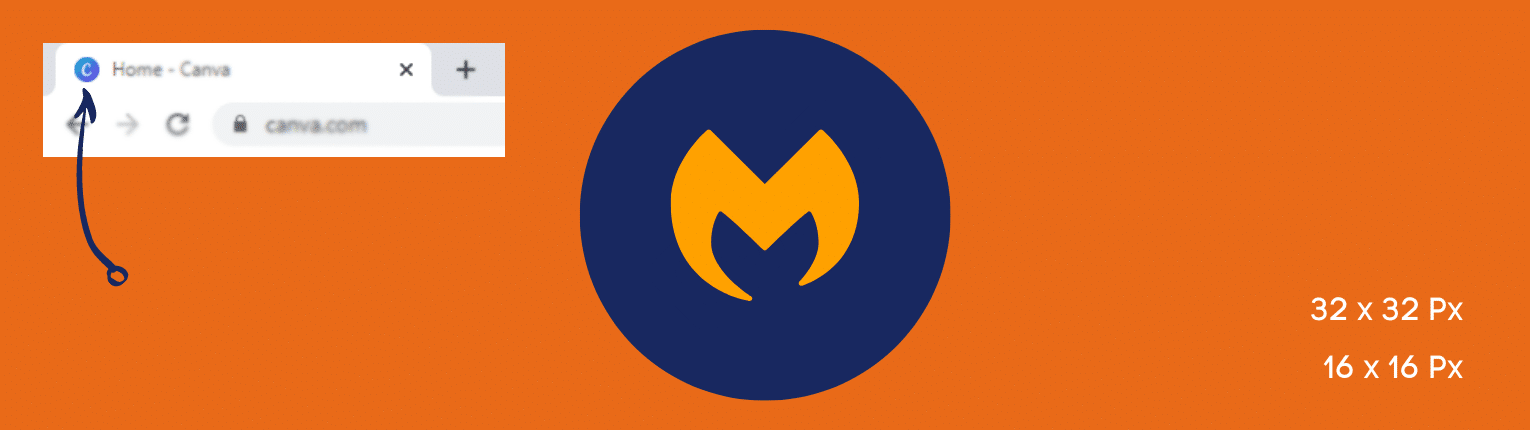
Go to Canva (link below), and click on “Create Design” & choose “Custom Dimensions“. Use 40 x 40 Pixels dimensions to create a new design.
Not to mention, 32 x 32 Pixels is a good choice for a favicon but Canva does not allow any design less than 40 x 40 Pixels. However, you will be able to crop your Favicon while/before uploading it on the website.
Once you created the favicon, just download & use it on your site.
Website address: https://www.canva.com/
Photoshop
You can create a favicon very easily in Adobe Photoshop. If you already have installed Photoshop on your computer, go to File → New and create a transparent layer with 32 x 32 Pixels. Once you created the design, save & upload it to your site.
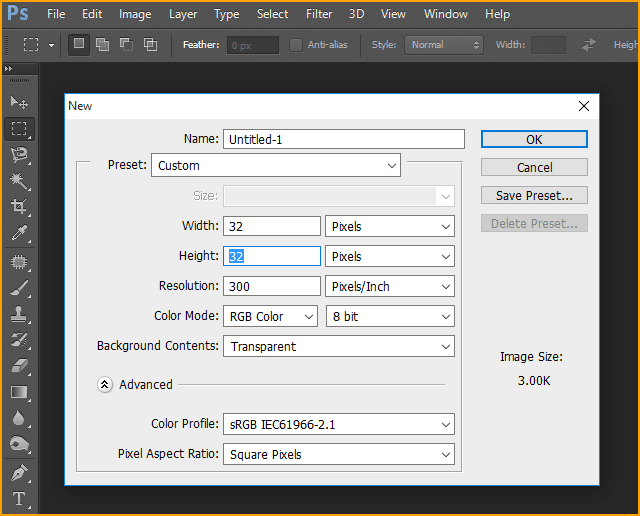
It’s an installable & premium desktop application and not an online tool.
Photopea
It’s a free online photo editor & very similar to Adobe Photoshop. You can use it to create a favicon as well.
Website address: https://www.photopea.com/
There are many other online tools that you can use to generate or design a favicon for your website. But most of them are plastered with ads and very difficult to navigate. I found the above tools very smooth & user-friendly.
Build HTML CSS projects
| Learn & practice CSS with real-world examples |
|---|
| Learn basic CSS from the ground up. |
| Build real projects in HTML CSS. |
FAQ
Favicon refers to a shortcut icon, browser tab icon, or bookmark icon. It’s a square size icon that can be found on the left edge of your browser tab.
Favicon is your website & brand identity. It also has a positive impact on SEO & helps your visitors to recognize your site quickly among multiple tabs and bookmarks.
Conclusion
In this post, I showed you how to create and add a favicon (browser tab icon/site icon/ site identity icon) to your HTML & WordPress websites. I also showed you how to design this site icon in Photoshop or using online free tools.
I explained every bit of information you need to know. Therefore if you have any questions, please let me know.