By the word “Interactive” here I meant the two-way flow of information. I am referring to a team page where the visitors will get the full information in two steps.
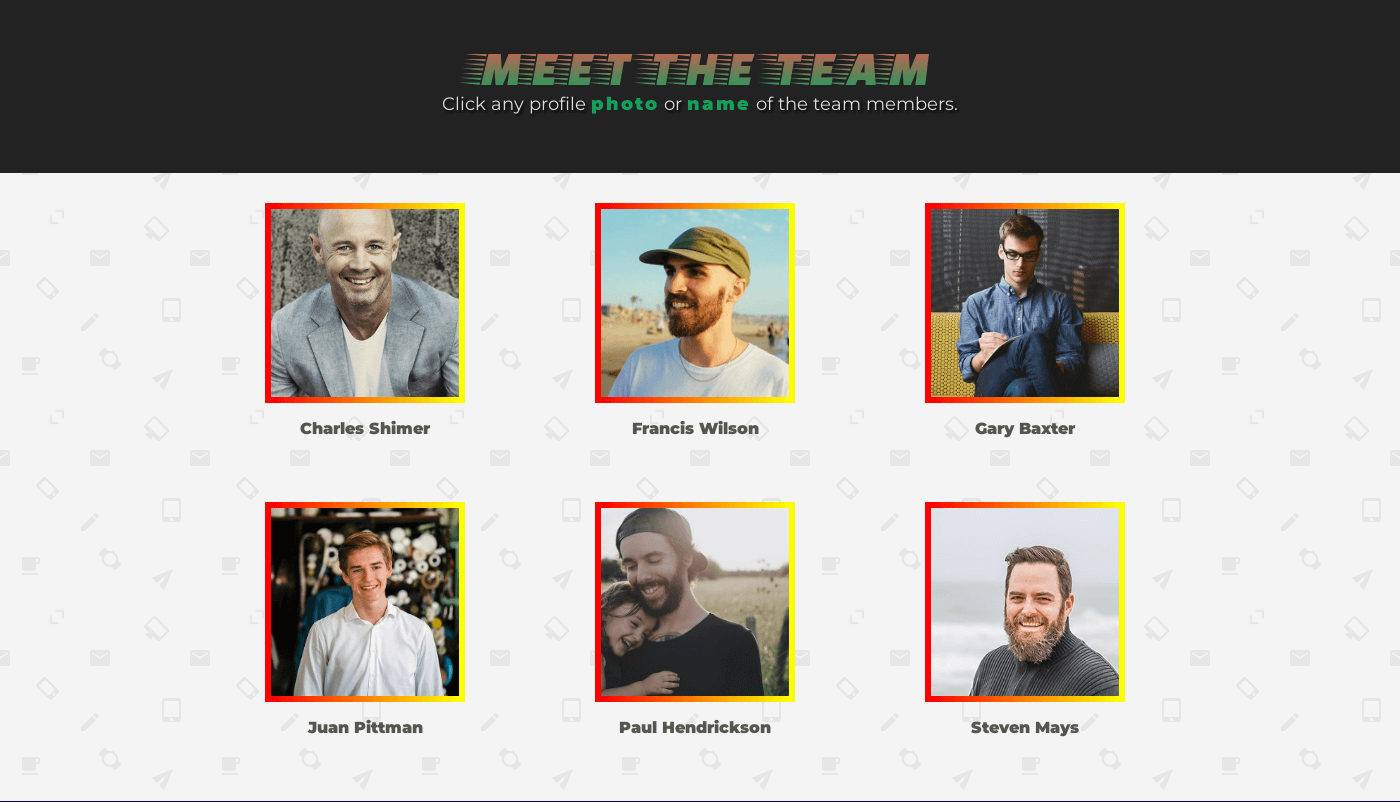
In the first step, the visitors will see the list of all team members in your company (their photo & name).
If they (visitors) choose to get more details about a specific team member, they will click on the photo or name of the person in the second step. And it will show the full detail about a team member.
If this is not clear yet, please see a live demo of the team page template in the link below.
On the live preview, click any of the person’s photos or names to see the full detail.
How to create this team page that you saw in the demo (live preview)?
For the above template, you can copy my code and replace the demo data with actual information (in the HTML).
HTML
<head>
  <script src="https://code.jquery.com/jquery-1.12.4.min.js" integrity="sha256-ZosEbRLbNQzLpnKIkEdrPv7lOy9C27hHQ+Xp8a4MxAQ=" crossorigin="anonymous"></script>
</head>
<div class="container">
	<div class="one-third">
		<img class="profile-photo" src="img/Charles-Shimer-min.jpg">
		<p class="name">Charles Shimer</p>
		<div class="popup-outer">
			<div class="popup-inner">
				<div class="ui-close-holder">
					<span class="ui-close">X</span>
				</div>
					<p>Reprehenderit in voluptate velit esse...</p>
          <!-- you can put any type of html tag here -->
			</div>
		</div>
	</div>
	<div class="one-third">
		<img class="profile-photo" src="img/Francis-Wilson-min.jpg">
		<p class="name">Francis Wilson</p>
		<div class="popup-outer">
			<div class="popup-inner">
				<div class="ui-close-holder">
					<span class="ui-close">X</span>
				</div>
					<p class="red">Remaining...  essentially unchanged.</p>
			</div>
		</div>
	</div>
	<div class="one-third">
		<img class="profile-photo" src="img/Gary-Baxter-min.jpg">
		<p class="name">Gary Baxter</p>
		<div class="popup-outer">
			<div class="popup-inner">
				<div class="ui-close-holder">
					<span class="ui-close">X</span>
				</div>
				<p class="green">It was popularised..</p>
			</div>
		</div>
	</div>
</div><!-- .container -->

<!-- 2nd row -->
<div class="container">
	<div class="one-third">
		<img class="profile-photo" src="img/Juan-Pittman-min.jpg">
		<p class="name">Juan Pittman</p>
		<div class="popup-outer">
			<div class="popup-inner">
				<div class="ui-close-holder">
					<span class="ui-close">X</span>
				</div>
        <p>Contrary to popular belief ... random text.</p>
			</div>
		</div>
	</div>
	<div class="one-third">
		<img class="profile-photo" src="img/Paul-Hendrickson-min.jpg">
		<p class="name">Paul Hendrickson</p>
		<div class="popup-outer">
			<div class="popup-inner">
				<div class="ui-close-holder">
					<span class="ui-close">X</span>
				</div>
        <p class="red">Richard McClintock, ..laborum.</p>
			</div>
		</div>
	</div>
	<div class="one-third">
		<img class="profile-photo" src="img/Steven-Mays-min.jpg">
		<p class="name">Steven Mays</p>
		<div class="popup-outer">
			<div class="popup-inner">
				<div class="ui-close-holder">
					<span class="ui-close">X</span>
				</div>
        <p class="green">There are many variations of passages...</p>
			</div>
		</div>
	</div>
</div><!-- .container 2nd row -->
<script src="./script.js"></script>
Make sure you have an “img” folder in your project root. And include all the images in this folder. Otherwise, replace the file path.
For the “Popup Close Icon“, please download it from here. If you want to use the same background image as mine, please download it here.
In this project, I am using jQuery and added the CDN in the <head> tag. Also, you need to connect your script.js file to your HTML file. I have the script.js file link at the very bottom. In your project, it will go before the closing </body> tag.
CSS
* {
    box-sizing: border-box;
}
body{
	font-family: 'Montserrat', sans-serif;
    font-weight: 400;
    color: #555652;
    margin: 0;
    overflow-x: hidden;
    background: #EBEDEF;
    background-image: url('img/background.png');
}
/* Utility classes */
.container-full-width{
    width: 100%;
    margin: auto;
    display: block;
    padding: 40px 15px;
}
.container{
	max-width: 1000px;
	display: block;
	margin-left: auto;
    margin-right: auto;
    margin-bottom: 3rem;
}
.container::after{
    content: "";
    display: table;
    clear: both;
}
.title{
    font-family: 'Faster One', cursive;
    font-size: 50px;
    font-weight: 400;
    text-transform: uppercase;
    text-align: center;
    background: -webkit-linear-gradient(#F15251, #16A05D);
  -webkit-background-clip: text;
  -webkit-text-fill-color: transparent;
  margin: 0;
}
.subtitle{
    font-family: 'Montserrat', sans-serif;
    font-size: 18px;
    margin-top: 0;
    text-align: center;
    color: #dcdcdc;
    font-weight: 400;
    text-shadow: 2px 2px 3px #000;
}
.subtitle span{
    color: #17A05D;
    font-weight: 900;
    letter-spacing: 2px;
    text-shadow: 0 0 0 #000;
}
.name{
    font-family: 'Montserrat', sans-serif;
    font-weight: 900;
    cursor: pointer;
    text-align: center;
    font-size: 16px;
}
.one-third{
	width: 100%;
	float: left;
}
@media (min-width: 768px) {
    .one-third{
        width: 33%;
    }
}
.one-half{
    width: 100%;
    float: left;
}
@media (min-width: 768px) {
    .one-half{
        width: 50%;
    }
}
img{
	max-width: 100%;
	margin: auto;
	display: block;
}
.profile-photo{
    cursor: pointer;
    border: 6px solid transparent;
    border-image: linear-gradient(to right, red , yellow);
    border-image-slice: 1;
    width: 200px;
    height: 200px;
    object-fit: cover;
}
.ui-close-holder{
    text-align: center;
}
.ui-close{
	font-weight: 400;
	font-size: 2rem;
    color: transparent;
	background-color: rgba(0, 0, 0, .2);
    background-image: url(img/times-solid.svg);
	padding: 3px 10px;
	cursor: pointer;
    background-repeat: no-repeat;
    background-position: center;
}
.bg-grey{
    background: #222222;
}
.bg-dark{
    background: #0D004C;
}
.margin-t-narrow{
    margin-top: 30px;
}
.margin-b-narrow{
    margin-bottom: 30px;
}
.orange{
    color: #FF9800;
    font-style: italic;
}
.underline{
    text-decoration: underline;
}
.red{
    color: #DD5044;
}
.green{
    color: #1DA261;
}
.topic__headline{
    color: #FFF;
    font-weight: 400;
    text-transform: capitalize;
    font-size: 18px;
    margin-bottom: 0;
}
.topic__description{
    color: #7C7C7C;
    font-weight: 400;
    font-size: 17px;
    text-shadow: 2px 2px 2px #000;
    line-height: 1.7em;
}
.text-right{
    text-align: right;
}
a{
    color: #FF9800;
}
.center{
    text-align: center;
}
.italic{
    font-style: italic;
}
/*============================= GENERAL STYLE ABOVE =========================*/

.popup-outer{
    display: none;
    position: fixed;
    left: 0;
    right: 0;
    bottom: 0;
    top: 0;
    overflow: scroll;
    max-height: 100vh;
    z-index: 9999;
    margin-right: auto;
    margin-left: auto;
    padding: 5%;
    border-style: solid;
    border-width: 30px;
    border-color: hsla(0, 0%, 100%, 0.97);
    background-color: hsla(0, 0%, 91%, 0.96);
	}
.popup-inner{
	position: relative;
    display: block;
    max-width: 800px;
    margin-right: auto;
    margin-left: auto;
    padding-top: 37px;
    -webkit-box-align: start;
    -webkit-align-items: flex-start;
    -ms-flex-align: start;
    align-items: flex-start;
	}
.popup-inner p{
    font-family: 'Montserrat', sans-serif;
    font-weight: 400;
    font-size: 1.4rem;
    line-height: 1.4;
}
/*========== THE END ==============================*/
The CSS is quite long here and I commented out every section. So you can use whatever you need.
JavaScript (jQuery)
jQuery(document).ready(function() {
	jQuery('.profile-photo, .name').click(function() {
		jQuery(this).closest('div').find('.popup-outer').fadeIn();
	});

	jQuery('.ui-close').click(function() {
		jQuery(this).parents('div').find('.popup-outer').fadeOut();
	});
});
As mentioned earlier, I used jQuery in this project. If you want to use vanilla JavaScript, it will take approx 35/40 lines of code. Please also let me know if you want this in plain/vanilla JavaScript.
Why & when is this type of team page useful?
When you have many team members, it’s hard to put all their information & bio on the same page. Otherwise, the team page will be quite long.
As an alternative, you can also create separate pages for each team member and it’s one of the valid options.
But if you choose to keep them on a single page and show the details only when needed, this type of interactive page can be useful.
Build HTML CSS projects
Conclusion
I created this template at the beginning of 2020 (Feb 16, 2020) while writing this post on May 01, 2023. This is just to help you to create an exceptional team page.

