In this post, you will see how to create the hero banner image only using HTML & CSS. The hero banner image is generally known as the “Hero Section” on a web page.
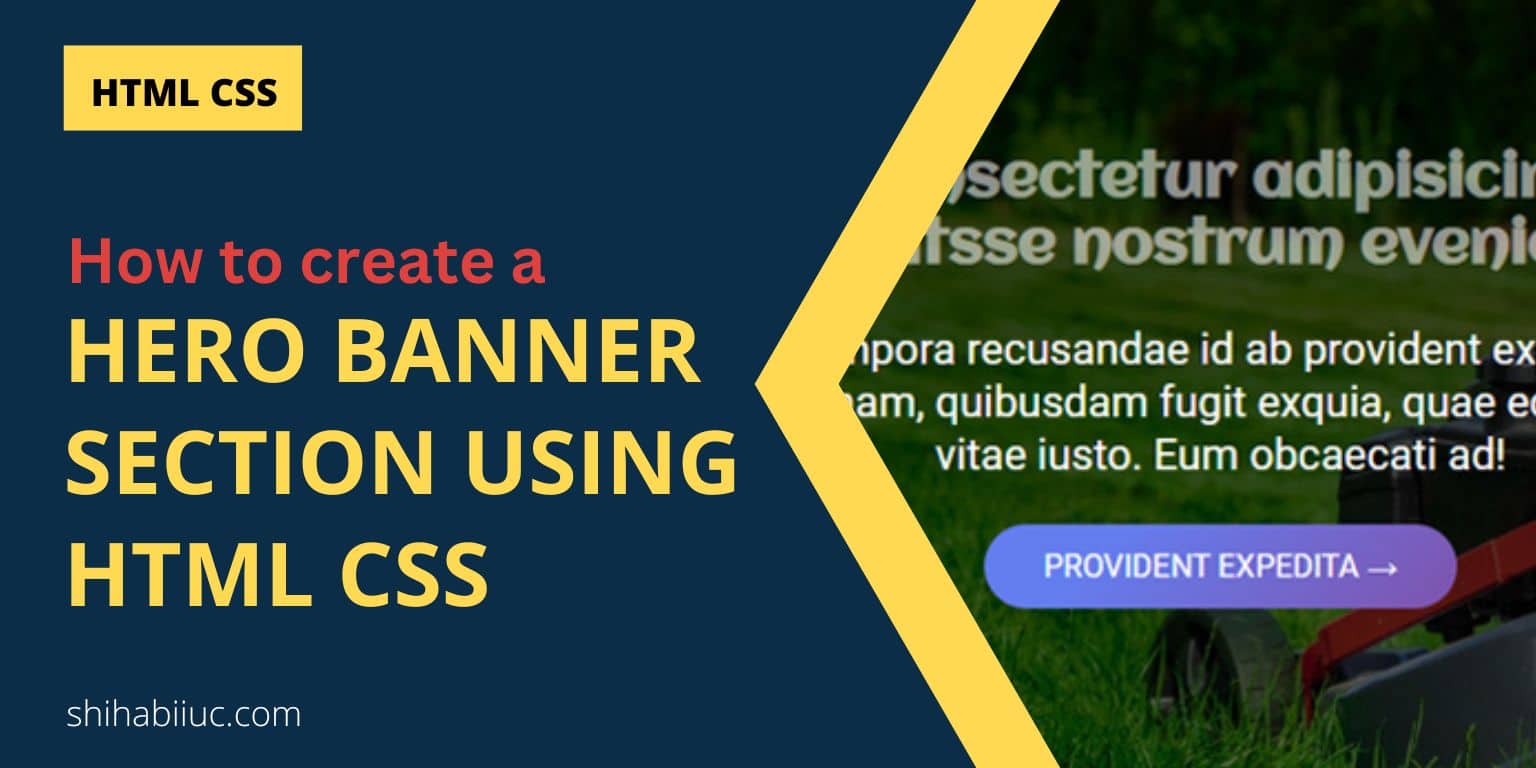
It’s normally the first section of a web page. This hero section generally consists of a background image and a background overlay color, and on top of that, it contains a heading, paragraph & CTA (call to action).
End of this post, I will give you the full source code & show you the live preview.
Let’s see how we can create a hero section as you see in the design below:

I will give you a couple more designs in HTML & CSS. So you can practice more & choose a better banner based on your needs.
Let’s move on.
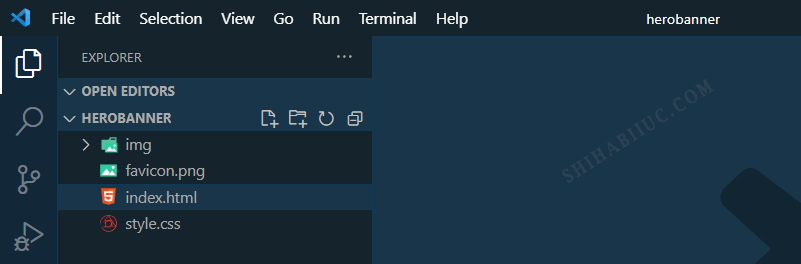
To show you the step-by-step process, I created a project folder on my desktop named “herobanner” and in your case, the name might be different. It really doesn’t matter.
See my project structure below.
Create an HTML & CSS file in your project folder
I created an HTML & CSS file named “index & style” accordingly. And I linked the stylesheet (style.css) to my index.html file.
Also, I created a folder inside the project folder named “img” to store all my images here (including the banner image or background image).
After that, I created an HTML markup for the hero section.
My HTML markup looks like this:
<!DOCTYPE html>
<html lang="en">
<head>
  <meta charset="UTF-8">
  <meta http-equiv="X-UA-Compatible" content="IE=edge">
  <meta name="viewport" content="width=device-width, initial-scale=1.0">
  <link rel="shortcut icon" href="favicon.png" type="image/x-icon">
  <link href="https://fonts.googleapis.com/css2?family=Aclonica&display=swap" rel="stylesheet">
  <link href="https://fonts.googleapis.com/css2?family=Roboto&display=swap" rel="stylesheet">
  <link rel="stylesheet" href="style.css">
  <title>Hero banner image using HTML & CSS</title>
</head>
<body>
  <section class="hero">
    <div class="hero-container">
      <h1>Consectetur adipisicing elitsse nostrum eveniet</h1>
      <p>Tempora recusandae id ab provident expedita magnam, quibusdam fugit exquia, quae eos nemo vitae iusto. Eum obcaecati ad!</p>
      <a href="index.html">Provident expedita →</a>
    </div>
  </section>
</body>
</html>
I wrote the following CSS to make the banner/hero look nice and mobile responsive.
/*
** Hero banner image template
* Available for download on GitHub
* Avaiable fonts:
* font-family: 'Aclonica', sans-serif;
* font-family: 'Roboto', sans-serif;
* */

/* basic CSS reset */
* {
  box-sizing: border-box;
}
body {
  padding: 0;
  margin: 0;
}
img {
  max-width: 100%;
}
/* Banner */
body {
  font-family: 'Roboto', sans-serif;
}
.hero {
  background:linear-gradient(0deg, rgba(0, 0, 0, 0.6), rgba(0, 0, 0, 0.8)), url("./img/hero-banner-image-1.jpg");
  background-size:cover;
  background-position: center;
  padding: 90px 15px;
}
.hero .hero-container {
  text-align: center;
  max-width: 1000px;
  margin: 0 auto;
}
.hero .hero-container h1{
  color: rgba(255, 255, 255, 0.55);
  font-family: 'Aclonica', sans-serif;
  font-size: 30px;
  margin: 0;
}
.hero .hero-container p {
  color: #FFFFFF;
  font-size: 22px;
}
.hero .hero-container a {
  text-decoration: none;
  background-color: #7f53ac;
  background-image: linear-gradient(315deg, #7f53ac 0%, #647dee 74%);
  color: #FFFFFF;
  padding: 12px 30px;
  display: inline-block;
  text-transform: uppercase;
  border-radius: 25px;
  transition: all 0.9s ease;
}
.hero .hero-container a:hover {
  background-color: #42378f;
  background-image: linear-gradient(315deg, #42378f 0%, #f53844 74%);
  color: #000000;
  box-shadow: 0 4px 8px 0 rgba(0, 0, 0, 0.9), 0 6px 20px 0 rgba(0, 0, 0, 0.9);
}
@media (min-width: 768px) {
  .hero .hero-container h1{
    font-size: 70px;
  }
}
After you have the above HTML & CSS in place, your hero banner image section will look like the design you have seen at the very top.
See the live preview & download the full template
I have created the live preview to better visualize the hero sections. You can also download the template & use it on your own projects.
Build HTML CSS projects
Conclusion
If you have any questions about the hero section that I built or if you don’t understand anything, or if you want to see/download more hero sections like this, please let me know.

