Eco Web Hosting is a UK-based hosting company that offers managed WordPress, shared, virtual private server & reseller hosting. So if most of your target audience lives in the United Kingdom then this hosting company. Also, they accept payments directly in Pound Sterling that another benefit for the persons who live in the United Kingdom.
In this post, I will show you how to add a domain to your existing hosting account, install WordPress, install free SSL certificates and migrate a WordPress website to in this hosting. Also, I will show you everything in a step-by-step video.
How to add a domain to Eco Web Hosting
Eco Web Hosting doesn’t allow add-on domains on their hosting. You can use domain mapping to add a domain to point to the same site of the package that it is pointed to. But it can’t be used to load from a specific location. If you want a separate site then you’ll need to create a separate package for that domain.
If this sound complicated, let me clarify for you.
It simply means that you have to create a separate package for the separate website. Don’t worry, it will not cost you any extra.
1. Create a hosting package for the domain
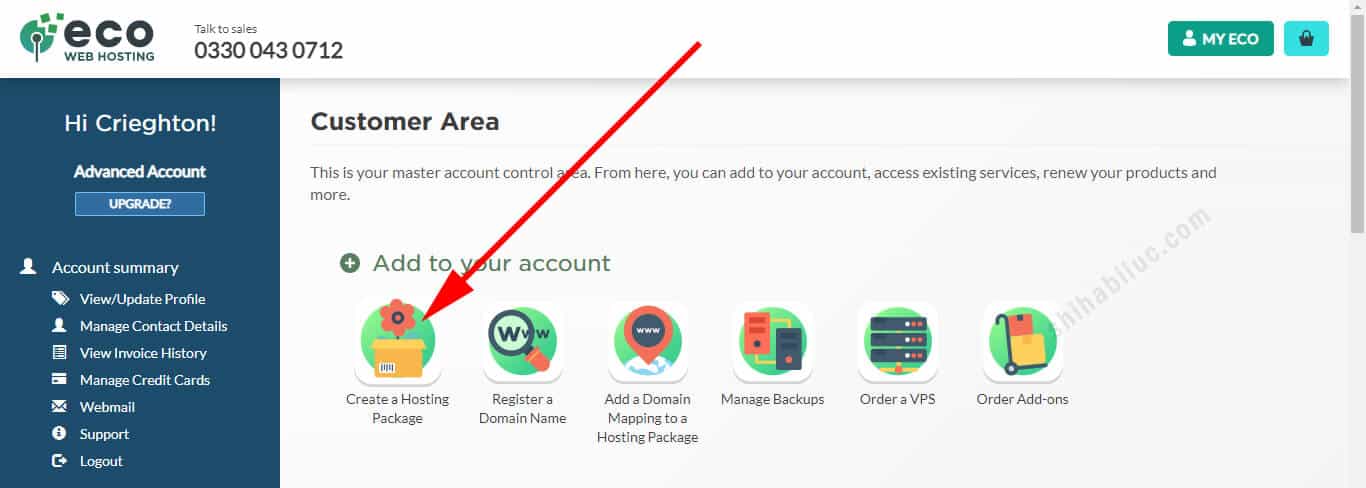
In order to add a new domain, log in to your Eco Web Hosting, under the “Add to your account” section, click on the “Create a Hosting Package” as you see on the screenshot below.
Alternatively, you can click on this link in order to create a new hosting package for a separate website/domain: https://www.ecowebhosting.co.uk/cp/adddomains
In the next window, fill out the information such as type the domain name, and choose a new email to get confirmation as you see on the screenshot below.
Protip: Change the default sender email after you create a website. If you’re not sure, see how to change the default email in WordPress. Change from “[email protected]” to “[email protected]”
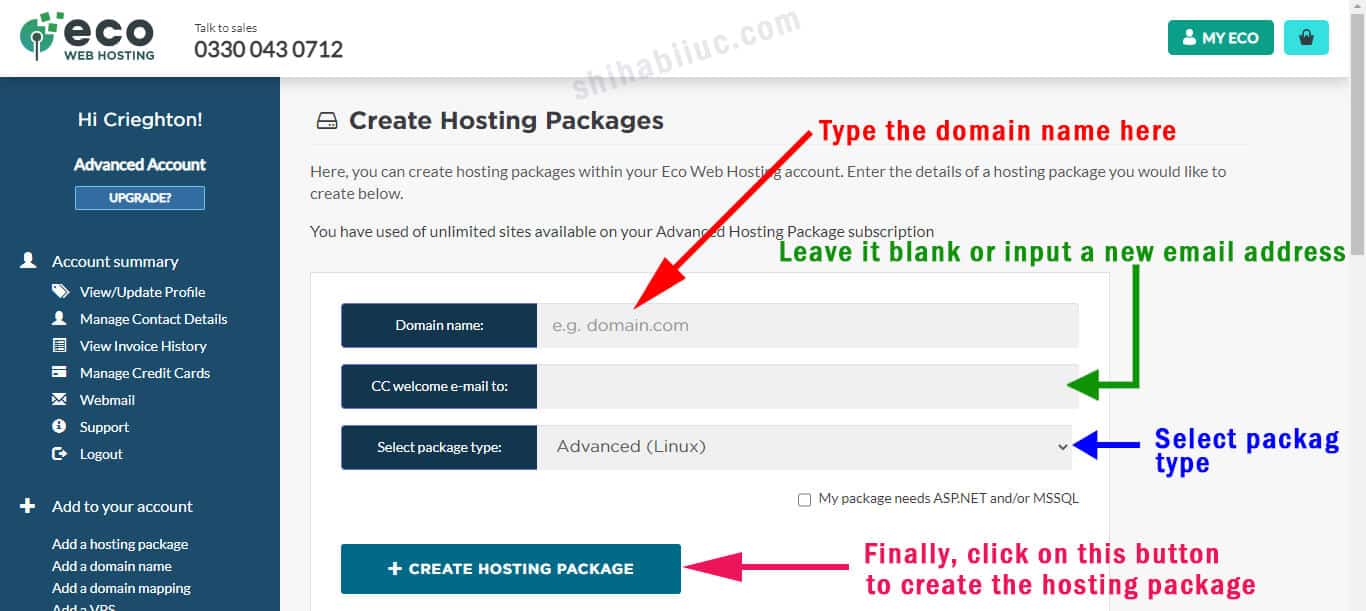
And hit the button “CREATE HOSTING PACKAGE.” This will add your domain to Eco Web Hosting and create a separate cPanel for the new website.
For more information, see the video instructions from the 0:32 timestamp.
2. Add Eco Web Hosting nameservers to your domain
You can add your domain to Eco Web Hosting or create a separate hosting package for the new domain or new website without adding the nameservers. But in order to make it work as a real website, you need to add the Eco nameservers.
That means you can add the nameservers after creating the hosting package. But it’s a good practice to add the nameservers earlier.
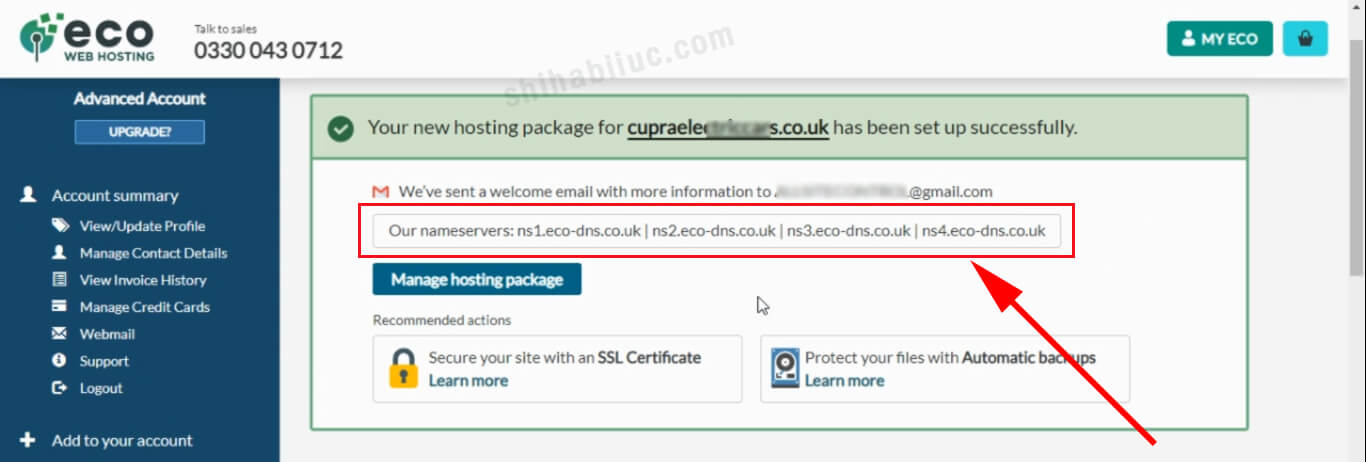
If your domain registrar is different than Eco Web Hosting, log in to your domain register, find the DNS settings, and then replace the existing nameservers with the following Eco Web Hosting nameservers:
- ns1.eco-dns.co.uk
- ns2.eco-dns.co.uk
- ns3.eco-dns.co.uk
- ns4.eco-dns.co.uk
If you need more clarification on changing the nameservers, see the video from the 1:07 timestamp.
How to install an SSL certificate on Eco Web Hosting?
In order to install an SSL certificate, it’s mandatory to add Eco nameservers. Otherwise, you won’t be able to proceed with this.
Anyways, once you added these nameservers and after the nameserver propagation, you can install an SSL certificate.
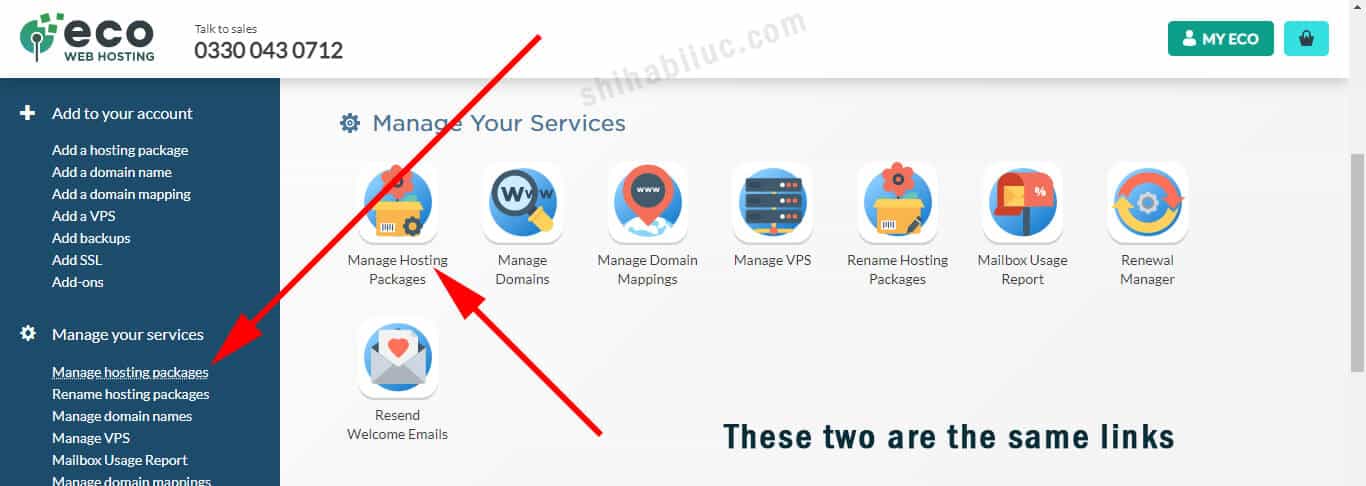
On the left side of your dashboard and under the “Manage your services” section, click the link on the “Manage hosting packages” as you see on the screenshot below.
Alternatively, you can click on this link to manage your hosting packages: https://www.ecowebhosting.co.uk/cp/managehosting
2. Open the cPanel
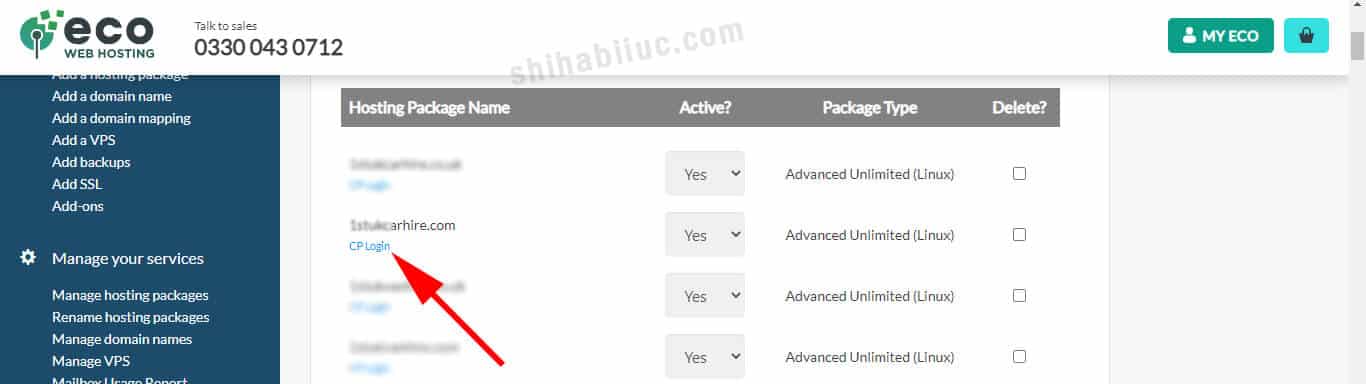
After clicking the “Manage hosting packages”, it will show you the list of hosting packages that you have in your account. Click the link “CP Login” underneath the domain. It will take you to the cPanel.
3. Click on SSL/TLS
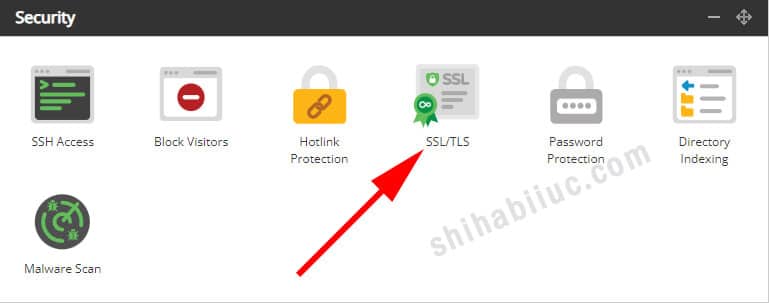
In the next window (cPanel) and under the “Security” section, click on “SSL/TLS” as you see on the screenshot below.
4. Activate the SSL certificate
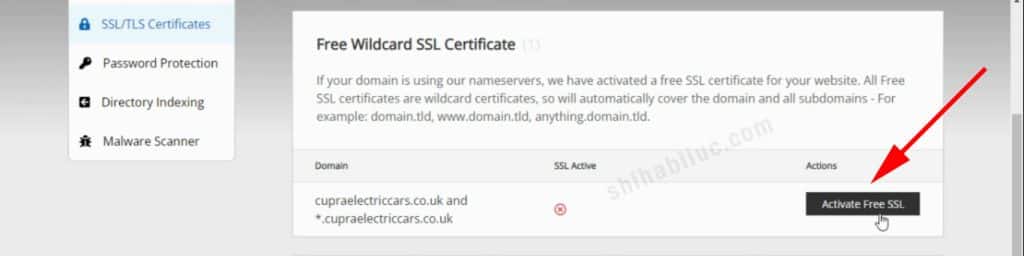
In the next window and under the “Free Wildcard SSL Certificate” section, click on the “Activate Free SSL” button.
That’s it! However, it might take about 30 minutes to install the certificate but the job is done on your part.
If anything is unclear about installing the SSL certificate, see the video from the 3:27 timestamp.
How to install WordPress on Eco Web Hosting
Installing WordPress on Eco Web Hosting is nearly similar to most of the other hosting companies.
1. Go to the cPanel & click on the one-click WordPress installer
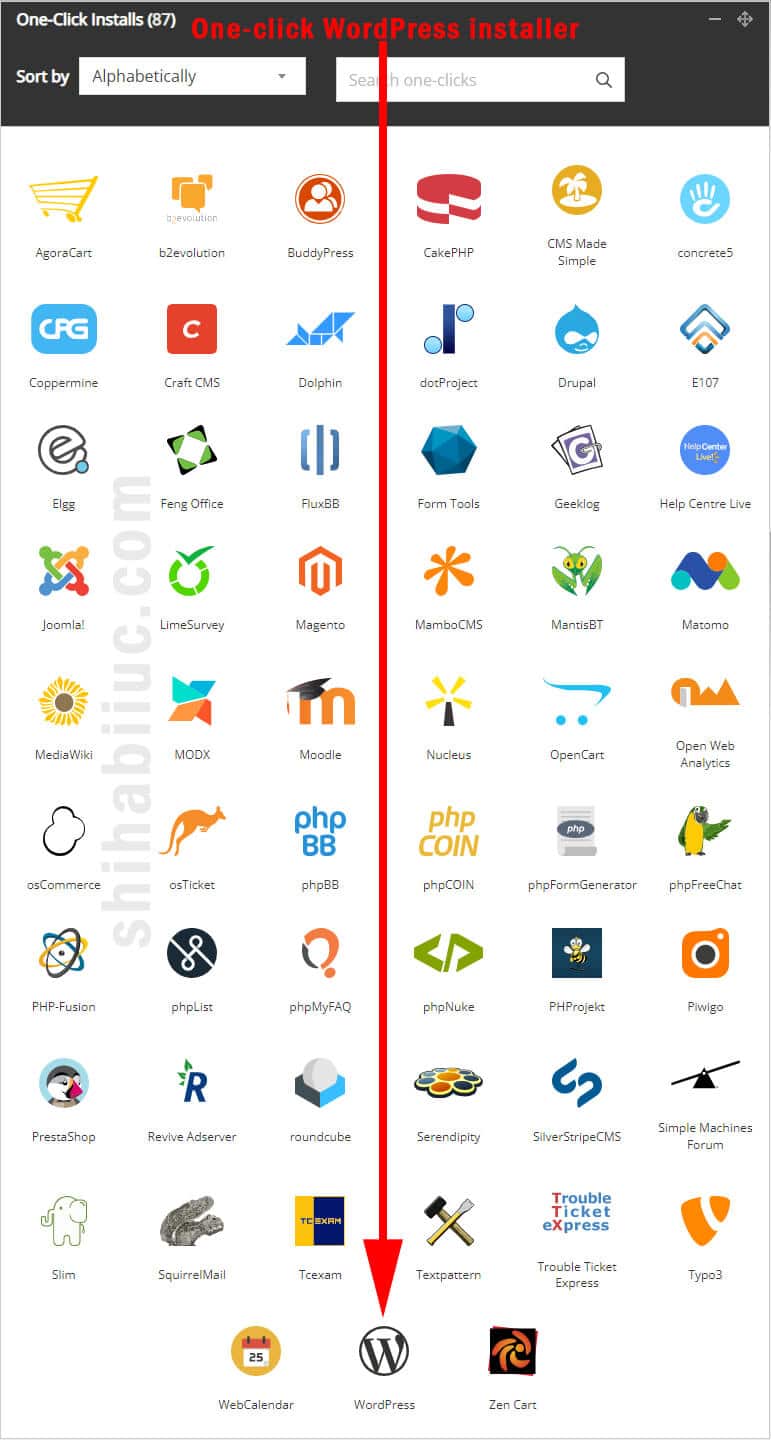
In order to install WordPress, navigate to cPanel and go to the last section called “One-Click Installs.” In this section, you will find the “WordPress” one-click installer as you see in the screenshot below.
2. Choose the domain for installation & install WordPress
In the next window after clicking the installer, select the domain name where you want to install WordPress, leave the ‘Directory’ field blank and click on the button “Install WordPress” as you see on the screenshot below.
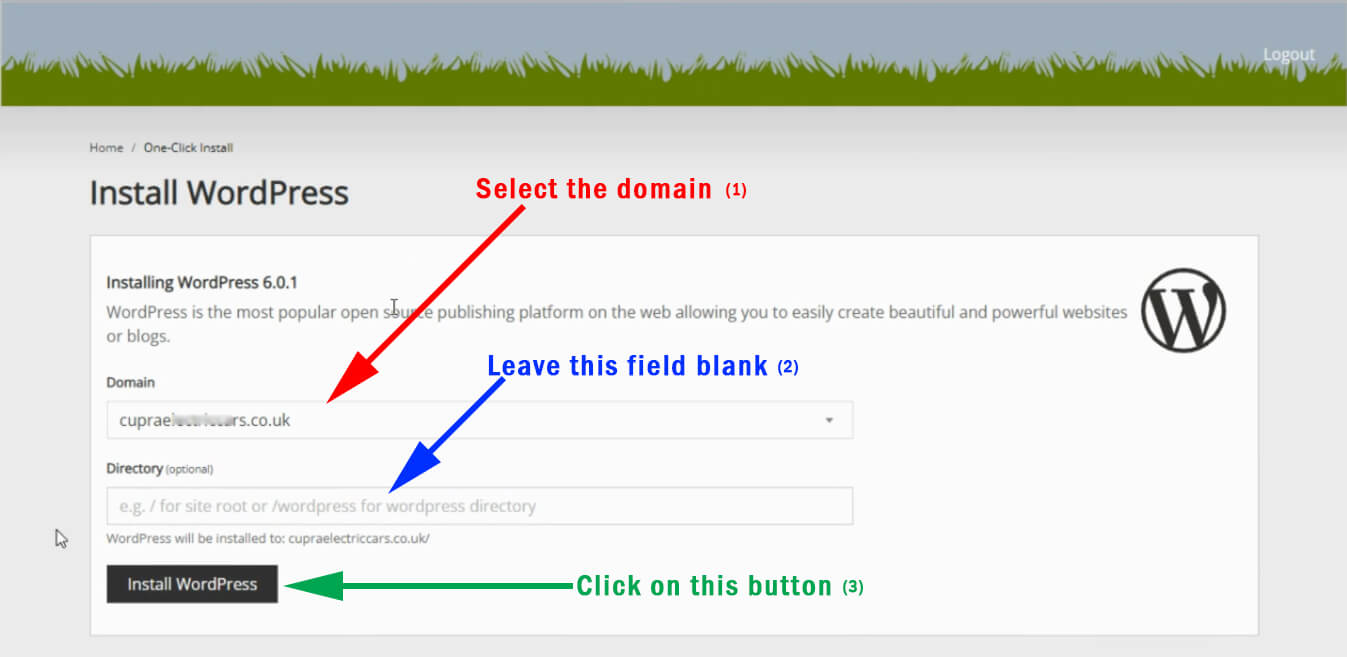
This will install the WordPress system files and folders on your hosting. However, after clicking the button “Install WordPress”, it will tell you that WordPress has been successfully installed.
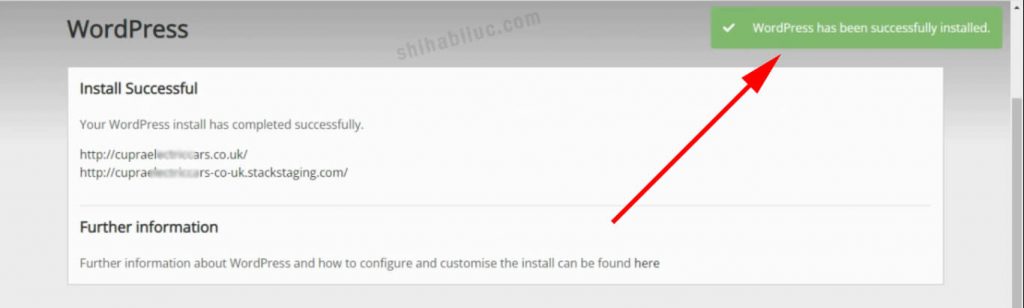
But this will not complete the full installation process. And you have to complete the installation yourself.
But this is very easy.
3. Finish the installation process manually
To finish the installation, copy & paste your website URL into the web browser and hit enter. This will take you to another installation process just like the screenshot below.
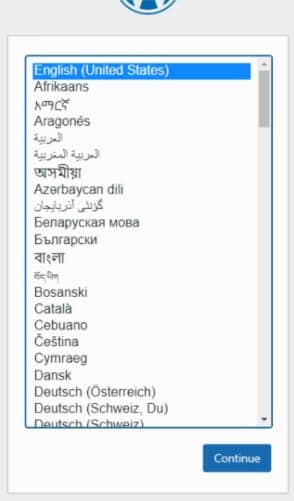
Choose your preferred language and hit the button “Continue.”
In the next window, write your “Site Title”, choose an admin username & password, write your email, and hit the button “Install WordPress” as you see in the screenshot below.
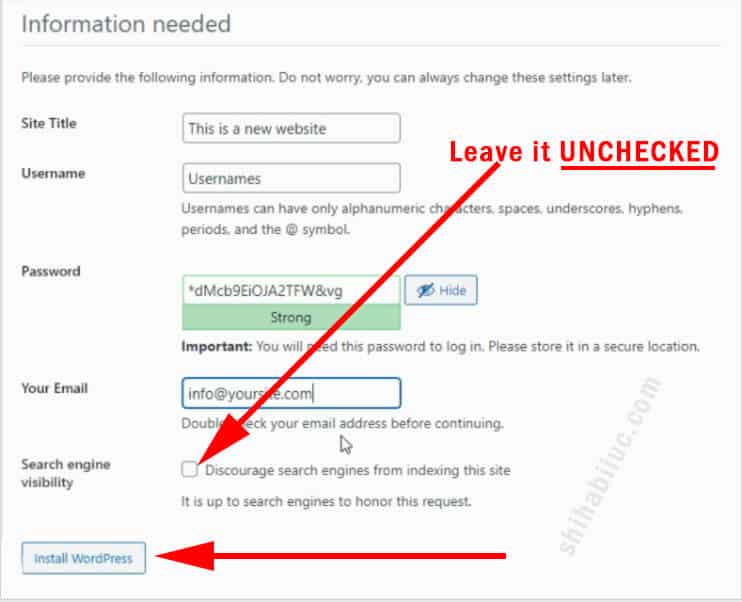
This will complete the WordPress installation process.
After that, you can log in to your WordPress admin dashboard by going through the URL: you_site.com/wp-admin
Don’t forget to replace the “you_site.com” with your actual domain.
That’s it for installing WordPress on your Eco Web Hosting. But if there anything is unclear to you, see the video from the 7:44 timestamp.
How do you migrate a WordPress website to Eco Web Hosting?
There is no exceptional way to migrate a WordPress website to Eco Web Hosting. And you can follow the same process if you already know how to do it.
In this post, I used “All-in-One WP Migration” WordPress plugin.
Recently (August 2022) I used Eco Web Hosting for the first time and created/moved 5 WordPress websites from Bluehost. Along this process, I had a few questions about their system & UI. Unfortunately, I have not found sufficient information on the internet. So I discussed with their support and learned a lot about their hosting. This post is the outcome of my first interaction with Eco Web Hosting.