You can use the built-in “Bulk Delete” feature but what if thousands of spammers are registered on your site? This will take you whole the day to delete only a couple of thousands of spammers. Moreover, you can’t remove more than 20 to 50 users at once because this might generate another error. As a developer, I came across this type of situation several times and hardly tried to delete spam users using the bulk delete option. However, I discovered that it’s not possible to manually delete thousands of spam users and this is not an efficient use of our […]
Read More →
In this post, I will show how you can change the logo on hover on Divi and Elementor websites. To change the logo on hover, we need a couple of lines of JavaScript. Don’t worry if you’re not familiar with it. Because I will show you everything step by step & will give you the code that you can copy-paste on your website. All you need is to replace a CSS ID. Let’s get started. How to change the logo on hover? In this video, I experimented with a Divi website but you can follow the same strategy for Elementor […]
Read More →By default, social media links in the Divi theme open in the same window. If you built a website with a Divi theme and added social icons/links to it, you’ll notice that they are not opening in a new tab. That means if someone clicks any of the social links, the visitor is leaving your website. But if you want your visitors to open the social media links without leaving your website, you have to add a target=”_blank” to all the social media links. And you have to do it using JavaScript. How to open social media links in a […]
Read More →In this post, I will show you how to trigger an Elementor popup after clicking any PDF link, and only show the corresponding file after the user submits a form. Also, you’ll get notified by email which will show you which specific file the user has downloaded. Do you want to send these email notifications using a custom email? See how to change the default sender email in WordPress? Anyways, please see the demo of the finished product at the beginning of the video. How to trigger the popup, collect information & display the file? Javascript (jQuery) code that I […]
Read More →
Eco Web Hosting is a UK-based hosting company that offers managed WordPress, shared, virtual private server & reseller hosting. So if most of your target audience lives in the United Kingdom then this hosting company. Also, they accept payments directly in Pound Sterling that another benefit for the persons who live in the United Kingdom. In this post, I will show you how to add a domain to your existing hosting account, install WordPress, install free SSL certificates and migrate a WordPress website to in this hosting. Also, I will show you everything in a step-by-step video. How to add […]
Read More →
To create a WordPress custom post type without any plugin, you need a little developer-level knowledge. You don’t have to be a guru. If you know how to edit your theme files, that should be okay to follow these instructions. The custom post type in WordPress (CPT) becomes very handy when you need to publish similar types of content regularly. WordPress comes with two default post types: post & page. Aside from these two, if you need to create an additional post type, follow along with me. In this post, I will show you how to create a custom post […]
Read More →
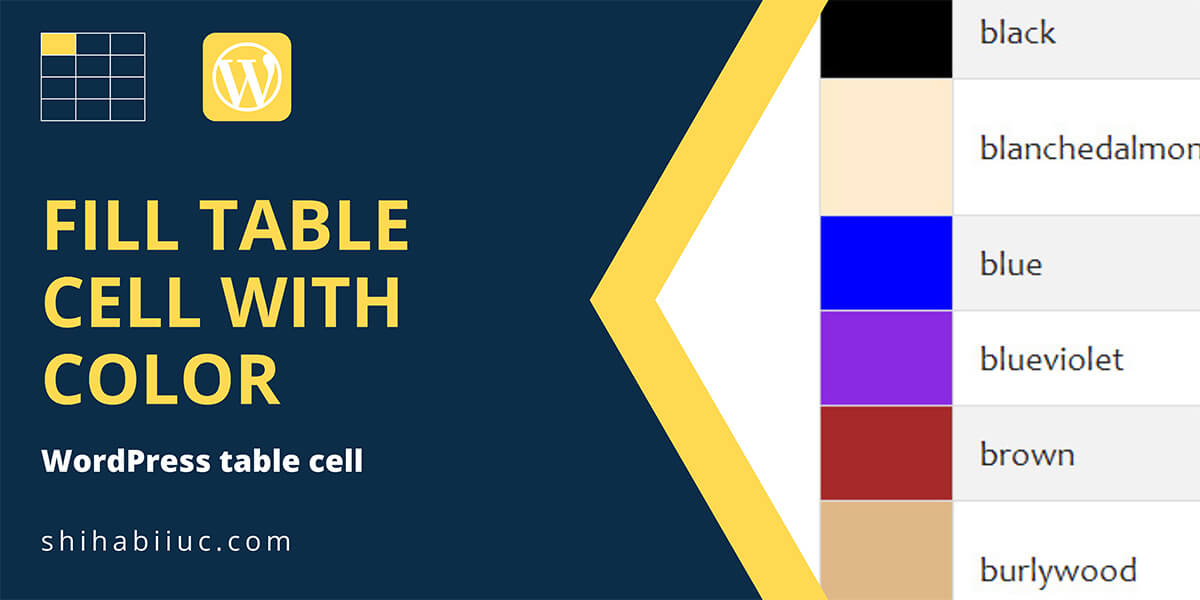
Are you struggling to fill WordPress table cells with color? This post will show you the simplest solution. Recently I needed to fill a couple of table cells with colors in WordPress Gutenberg. Also, I did not want to use any table plugin for this purpose. Because I always try to use plugins as lowest as I can. Anyways, I discovered that WordPress does not have any built-in feature to fill a table cell with colors. I tried to use the “Highlight” option in the WordPress table. But the “Highlight” feature only allows you to highlight a certain text within […]
Read More →
This post will show how to add a lightbox video in Elementor and a dynamic video popup button. Log in to your website, go to any of your posts or pages, and open it with Elementor Builder. Drag & drop a “Video Widget” on the page. Insert your video URL from Youtube, Vimeo, or Dailymotion, or upload your video to the WordPress media library. Turn on the option “Image Overlay,” which is the most important step to open the video in the lightbox. See the screenshot below. Choose an overlay image for the video. Turn on the option “Player icon” […]
Read More →
Calendly is a scheduling platform used by thousands of consultants, entrepreneurs, and anybody who allows booking a schedule with them. It has both free and premium versions, but the integration process with WordPress is the same. In this post, I will show how to add a Calendly booking calendar to your WordPress website. In my examples, I insert Calendly with and without a plugin. Also, I will show how to add Calendly to Elementor, Divi, and general WordPress sites. Table of contents 1. Add Calendly to WordPress without plugins 2. Add Calendly using a WordPress plugin 3. Insert Calendly using […]
Read More →
reCAPTCHA protects your website from malicious software. It prevents spam bots from interacting with your site. Not only Elementor users but also every website needs this type of risk analysis engine that protects websites from vulnerabilities and annoying bot comments. Elementor does not have any built-in artificial intelligence for Turing test capability. So you have to use a 3rd party tool to determine if a visitor is a real human or a spam bot. How to use reCAPTCHA with Elementor form? To protect the Elementor forms, I will use reCAPTCHA which is a completely free service from Google. Follow the […]
Read More →