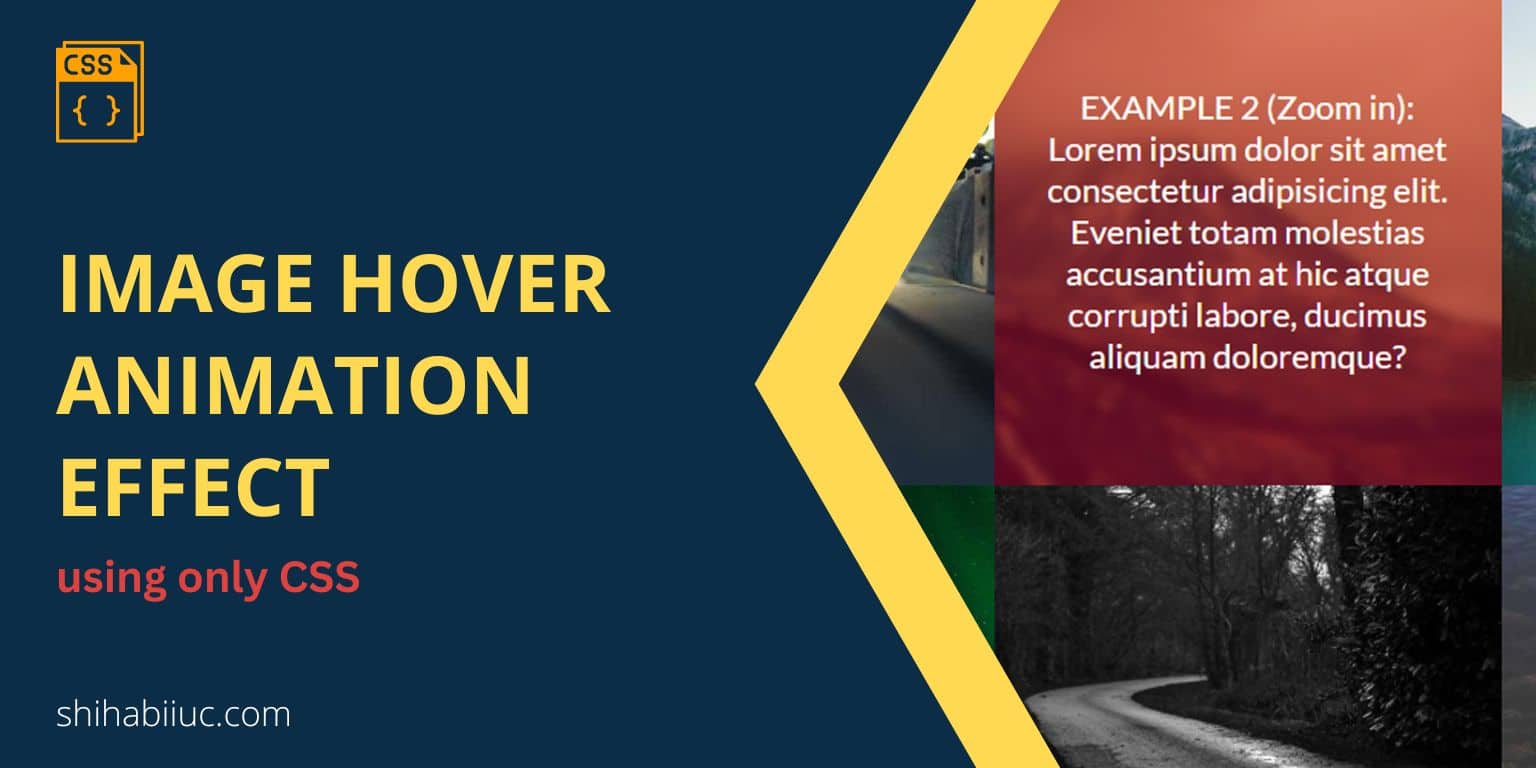
This post shows how to create an image hover animation effect using only CSS. Here I made 7 different examples you can see by hovering over each image. You’ll get all the HTML & CSS after the examples.
Before I give you the code, see the live examples below.
Live preview of image hover animation effect
EXAMPLE 1 (Fade animation):
Lorem ipsum dolor sit amet consectetur adipisicing elit. Eveniet totam molestias accusantium at hic atque corrupti labore, ducimus aliquam doloremque?
EXAMPLE 2 (Zoom in):
Lorem ipsum dolor sit amet consectetur adipisicing elit. Eveniet totam molestias accusantium at hic atque corrupti labore, ducimus aliquam doloremque?
EXAMPLE 7 (Gray):
Lorem ipsum dolor sit amet consectetur adipisicing elit. Eveniet totam molestias accusantium at hic atque corrupti labore, ducimus aliquam doloremque?
In the above demo, if you hover your mouse or touch the images on the mobile screen, you’ll see some texts showing up. And each text appears with a different animation. Also, the images animate differently such as fade, blur, scale up, etc.
Image hover animation effect (7 examples)
Each of the examples has a number such as an example 1, 2, 3, etc so you can find the corresponding HTML & CSS quickly. Let’s see the code below.
HTML
<section class="image-container">
  <div class="image-wrapper">
    <img class="blur" src="https://picsum.photos/600?random=1">
    <p class="fade">EXAMPLE 1 (Fade animation):<br>Lorem ipsum dolor sit amet consectetur adipisicing elit. Eveniet totam molestias accusantium at hic atque corrupti labore, ducimus aliquam doloremque?</p>
  </div> <!-- .image-wrapper -->
  <div class="image-wrapper">
    <img class="zoom blur" src="https://picsum.photos/600?random=2">
    <p>EXAMPLE 2 (Zoom in):<br>Lorem ipsum dolor sit amet consectetur adipisicing elit. Eveniet totam molestias accusantium at hic atque corrupti labore, ducimus aliquam doloremque?</p>
  </div> <!-- .image-wrapper -->
  <div class="image-wrapper">
    <img class="blur" src="https://picsum.photos/600?random=3">
    <p class="slide-left">EXAMPLE 3 (Slide from left):<br>Lorem ipsum dolor sit amet consectetur adipisicing elit. Eveniet totam molestias accusantium at hic atque corrupti labore, ducimus aliquam doloremque?</p>
  </div> <!-- .image-wrapper -->
  <div class="image-wrapper">
    <img class="blur" src="https://picsum.photos/600?random=4">
    <p class="slide-right">EXAMPLE 4 (Slide from right):<br>Lorem ipsum dolor sit amet consectetur adipisicing elit. Eveniet totam molestias accusantium at hic atque corrupti labore, ducimus aliquam doloremque?</p>
  </div> <!-- .image-wrapper -->
  <div class="image-wrapper">
    <img class="blur" src="https://picsum.photos/600?random=5">
    <p class="slide-up">EXAMPLE 5 (Slide up):<br>Lorem ipsum dolor sit amet consectetur adipisicing elit. Eveniet totam molestias accusantium at hic atque corrupti labore, ducimus aliquam doloremque?</p>
  </div> <!-- .image-wrapper -->
  <div class="image-wrapper">
    <img class="blur" src="https://picsum.photos/600?random=6">
    <p class="slide-down">EXAMPLE 6 (Slide down):<br>Lorem ipsum dolor sit amet consectetur adipisicing elit. Eveniet totam molestias accusantium at hic atque corrupti labore, ducimus aliquam doloremque?</p>
  </div> <!-- .image-wrapper -->
  <div class="image-wrapper">
    <img class="gray" src="https://picsum.photos/600?random=7">
    <p>EXAMPLE 7 (Gray):<br>Lorem ipsum dolor sit amet consectetur adipisicing elit. Eveniet totam molestias accusantium at hic atque corrupti labore, ducimus aliquam doloremque?</p>
  </div> <!-- .image-wrapper -->
</section>
For the 7 hover animation example, I have 7 different <div> that have a CSS class of image-wrapper.
In the next line, I have the <img> tag, and the images are coming from a placeholder photo API. But in a real project, you may need to store the images in a folder. Most images have a .blur class that I used to filter the image in CSS (after hover). It helps the texts to stand out more clearly.
The second image (example 2) has a .zoom class that I used to scale up the image by 10% (after hover).
Finally, the last image has a .gray class that I used to filter the image by the grayscale() CSS function.
Now see the CSS below.
CSS
.image-container {
  display: -ms-grid;
  display: grid;
  -ms-grid-columns: (minmax(300px, 1fr))[auto-fit];
      grid-template-columns: repeat(auto-fit, minmax(300px, 1fr));
}
.image-container .image-wrapper {
  position: relative;
  overflow: hidden;
}
.image-container .image-wrapper > img {
  display: block;
  width: 100%;
  aspect-ratio: 1 / 1;
  -o-object-fit: cover;
     object-fit: cover;
  -o-object-position: center;
     object-position: center;
}
.image-container .image-wrapper > p {
  position: absolute;
  inset: 0;
  font-size: 1.375rem;
  padding: 1rem;
  margin: 0;
  opacity: 0;
  color: #FFFFFF;
  background-color: rgba(255, 0, 0, 0.35);
  display: -webkit-box;
  display: -ms-flexbox;
  display: flex;
  -webkit-box-pack: center;
      -ms-flex-pack: center;
          justify-content: center;
  -webkit-box-align: center;
      -ms-flex-align: center;
          align-items: center;
  text-align: center;
}
.image-container .image-wrapper > img, .image-container .image-wrapper > p {
  -webkit-transition: 450ms ease-in;
  transition: 450ms ease-in;
}
.image-container .image-wrapper:hover > p {
  opacity: 1;
}
.image-container .image-wrapper:hover > .blur {
  -webkit-filter: blur(3px);
          filter: blur(3px);
}
.image-container .image-wrapper:hover > .zoom {
  -webkit-transform: scale(1.1);
          transform: scale(1.1);
}
.image-container .image-wrapper > .slide-left {
  -webkit-transform: translate(-100%);
          transform: translate(-100%);
}
.image-container .image-wrapper:hover > .slide-left {
  -webkit-transform: translate(0);
          transform: translate(0);
}
.image-container .image-wrapper > .slide-right {
  -webkit-transform: translate(100%);
          transform: translate(100%);
}
.image-container .image-wrapper:hover > .slide-right {
  -webkit-transform: translate(0);
          transform: translate(0);
}
.image-container .image-wrapper > .slide-up {
  -webkit-transform: translateY(100%);
          transform: translateY(100%);
}
.image-container .image-wrapper:hover > .slide-up {
  -webkit-transform: translate(0);
          transform: translate(0);
}
.image-container .image-wrapper > .slide-down {
  -webkit-transform: translateY(-100%);
          transform: translateY(-100%);
}
.image-container .image-wrapper:hover > .slide-down {
  -webkit-transform: translate(0);
          transform: translate(0);
}
.image-container .image-wrapper:hover > .gray {
  -webkit-filter: grayscale(1);
          filter: grayscale(1);
}
Every text or <p> tag is hidden initially using the opacity: 0. The .image-wrapper has a position relative and the <p> tag is positioned absolutely. This is how the text sits over the image.
Once you hover over .image-wrapper, the text (<p>) opacity turns into “1.”
Every <p> tag has different classes that are used to animate the text differently. Mostly, I used CSS transform & filter properties to make these hover animations. There is a 450ms transition delay for each image & text hover (and mouse leave event) effect.
Learn more about images
- How to add images to an HTML table?
- How to create an image hover animation effect only with CSS?
- How to position text over an image with CSS?
- How to change an image on hover (CSS)
- Center an image in various directions & methods
- How to right-align an image in HTML CSS?
- How to create a hero banner image using HTML CSS?
- How to wrap text around an image in HTML?
- How to rotate text & images using CSS?
Conclusion
You saw the live preview of the image hover effect where I made 7 different examples. Also, you got all the HTML & CSS for it. If you have any questions or a hard time implementing them on your project, let me know.


